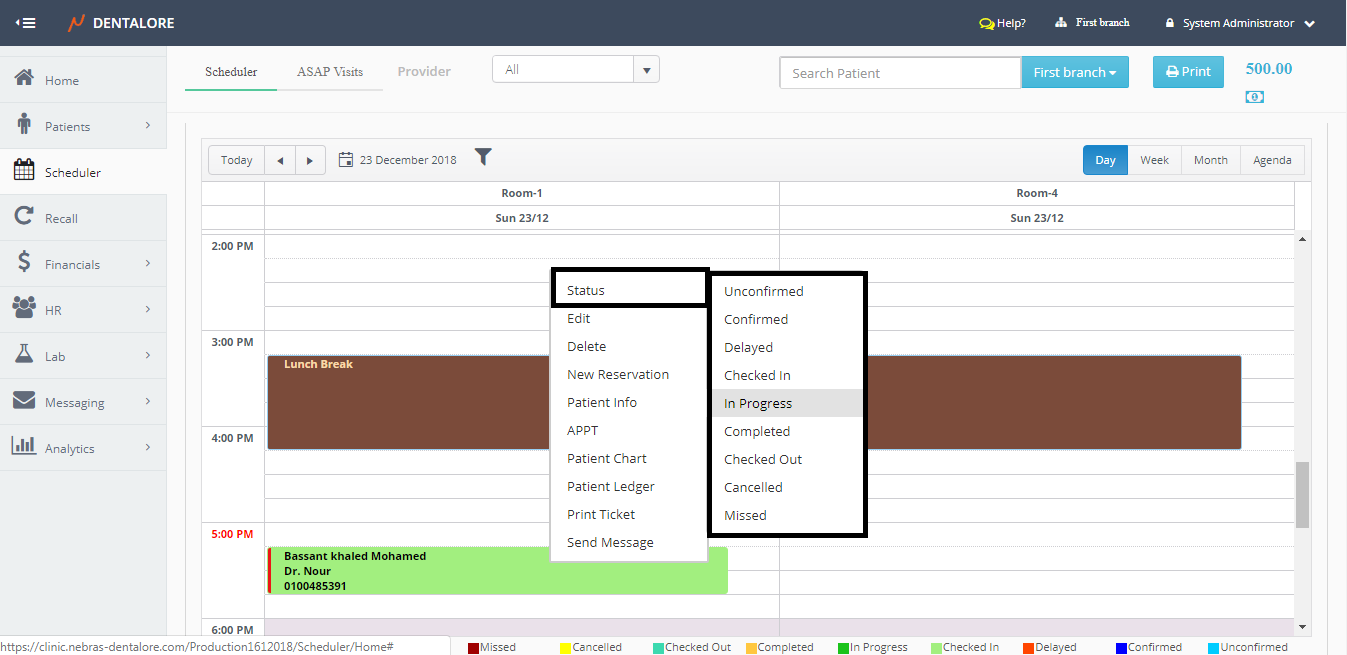
From Scheduler View, You have the ability to directly access different views of the patient's account; that could be done from the shortcut menu opened for each patient.
To Open shortcut menu; Right Click on the required visit.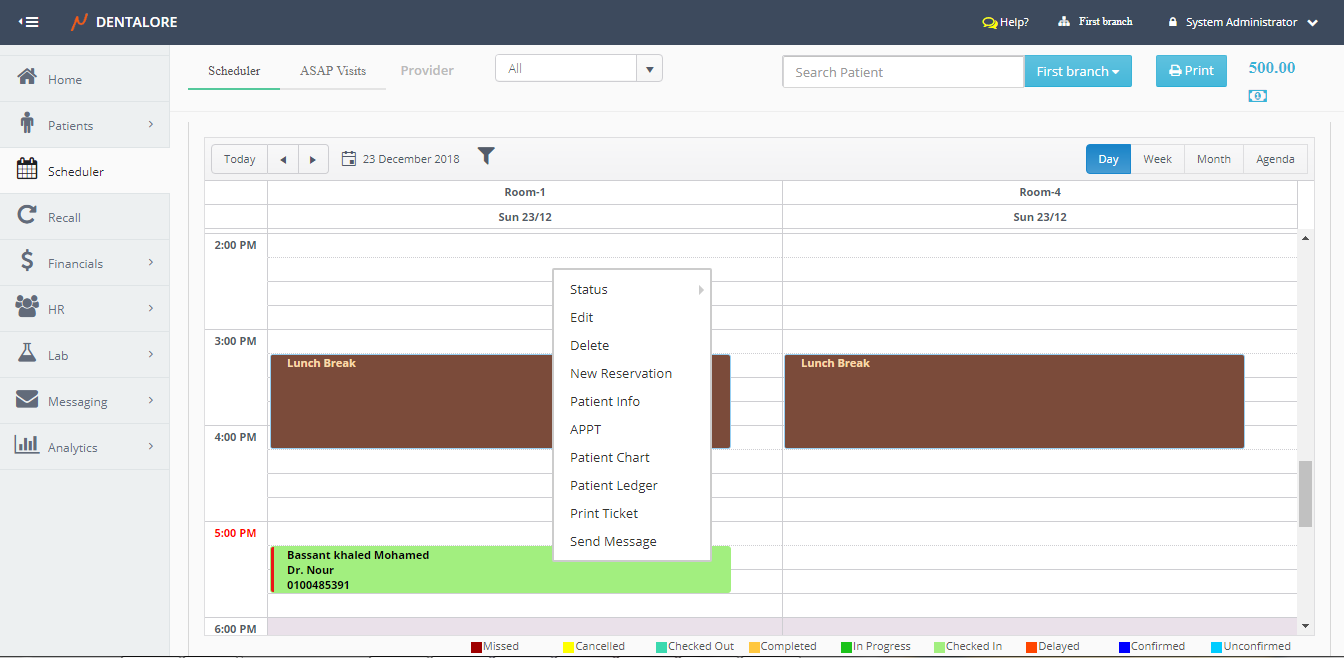
Views that could be accessed from the shortcut menu are:
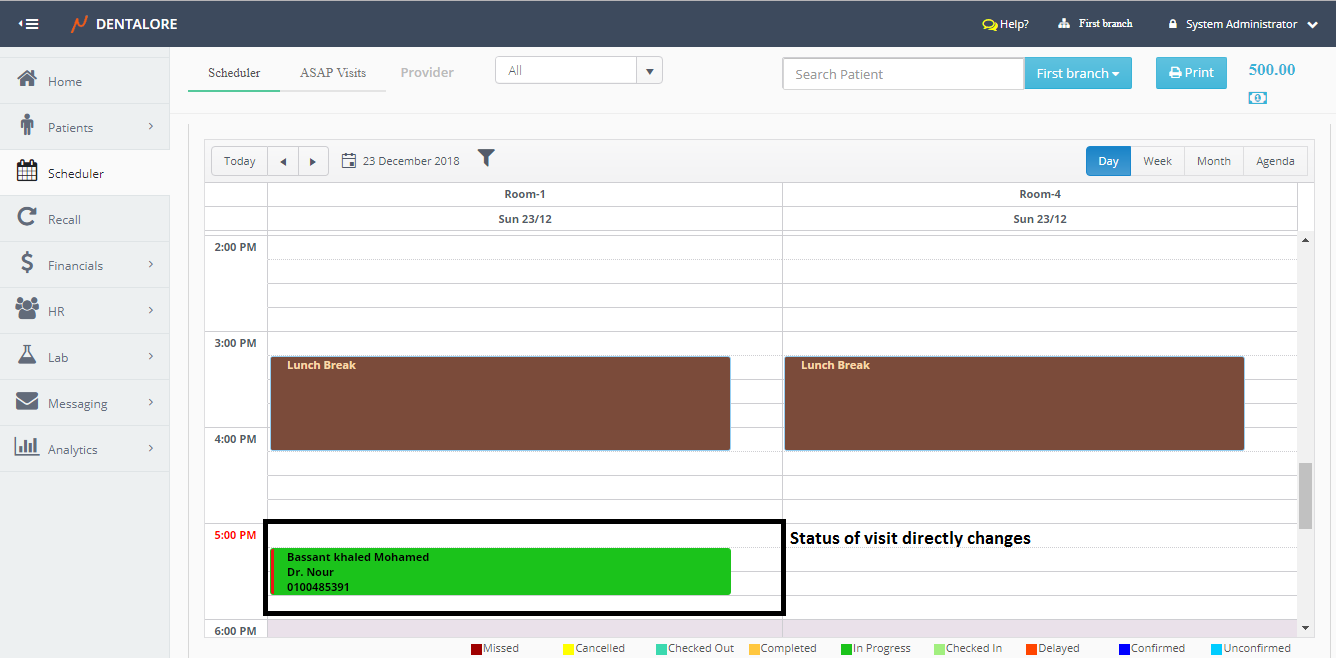
- Status
- When (Status) is selected, New menu opens that contains all the visit's statuses in order to select new status for the visit directly from the scheduler view, without the need to open the "Edit Visit" page.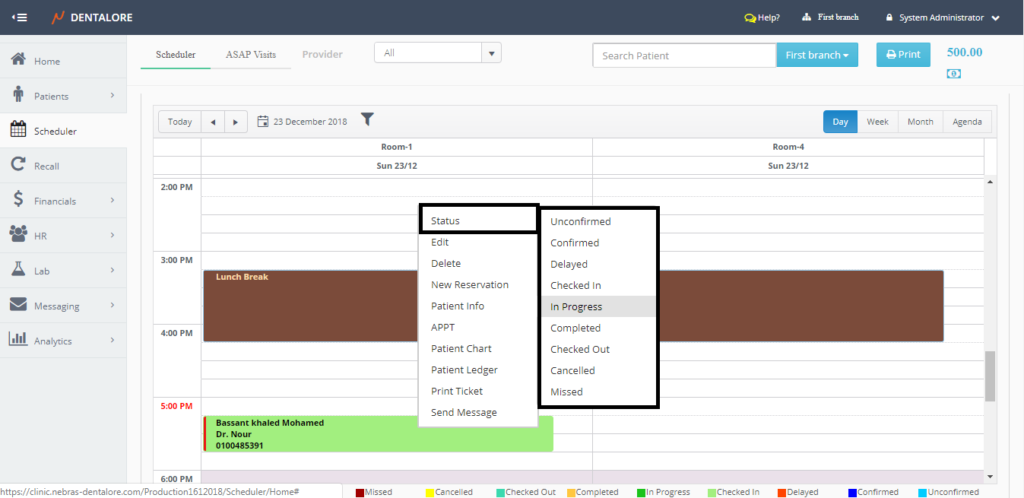

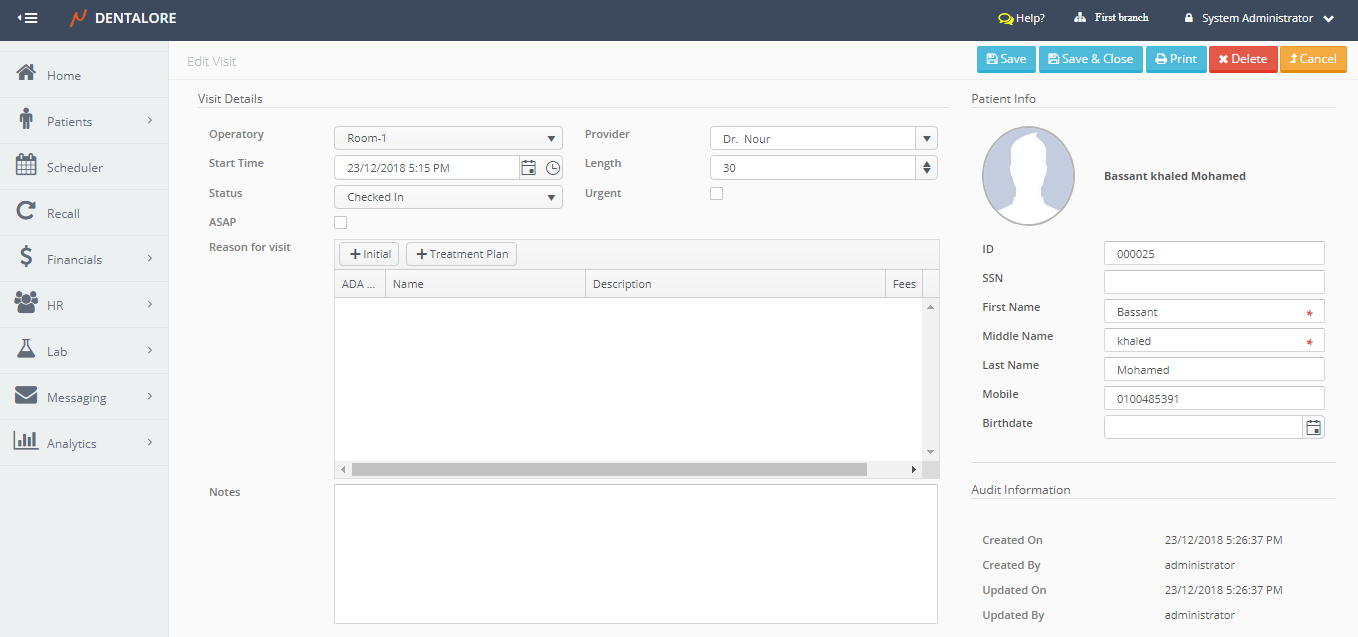
- Edit
- When (Edit) is selected, user directed to the "Edit Visit" page.
- Delete
- When (Delete) is selected, Popup opens to let user confirm or cancel the deletion of the visit.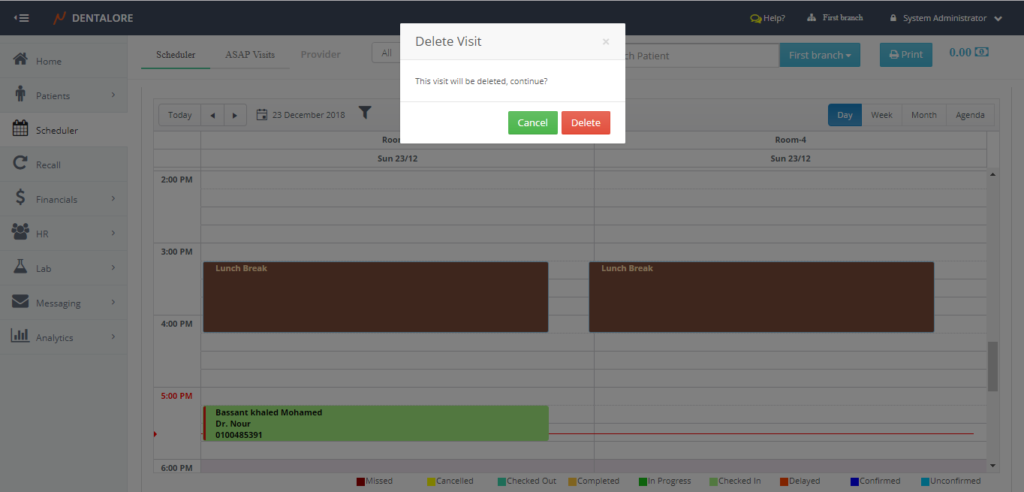
- New Reservation
- This option used to add a new visit (Appointment) for the patient. When selected user directed to the "Add Visit" page with the patient's data displayed in it.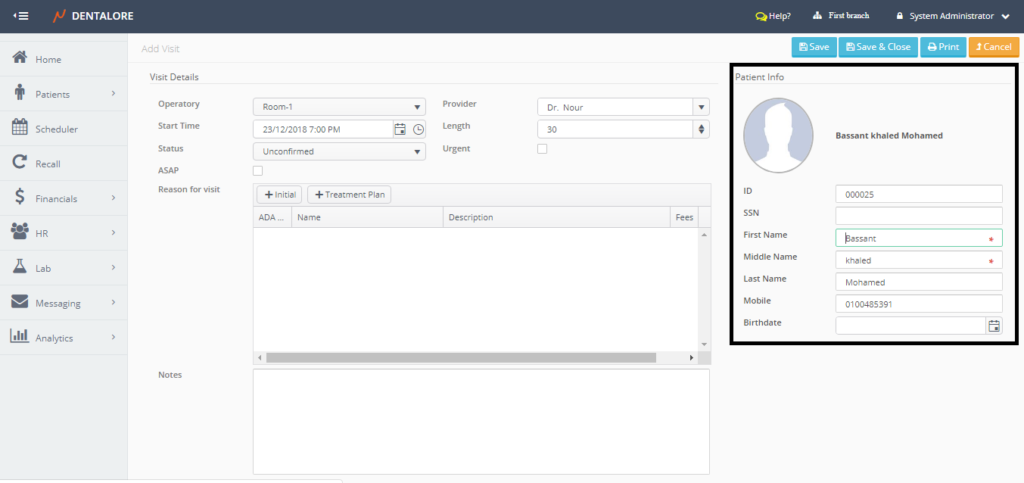
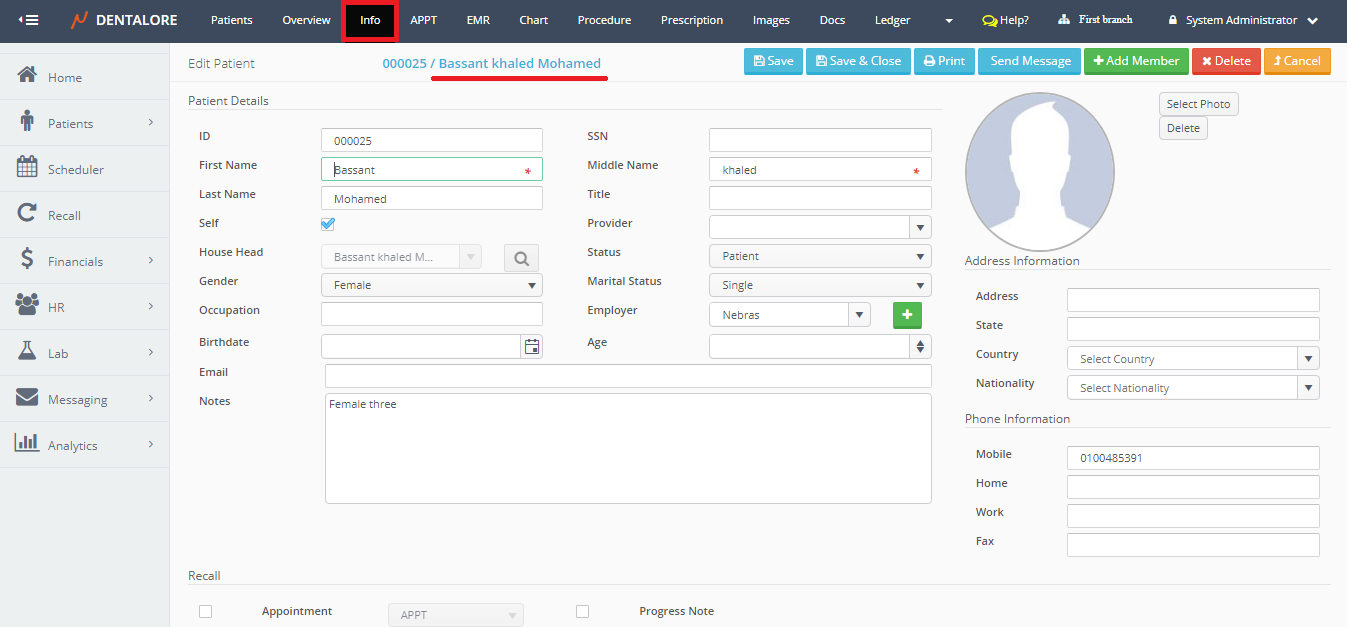
- Patient Info
- When selected, User will be directed to the "Edit Information" page (Info View).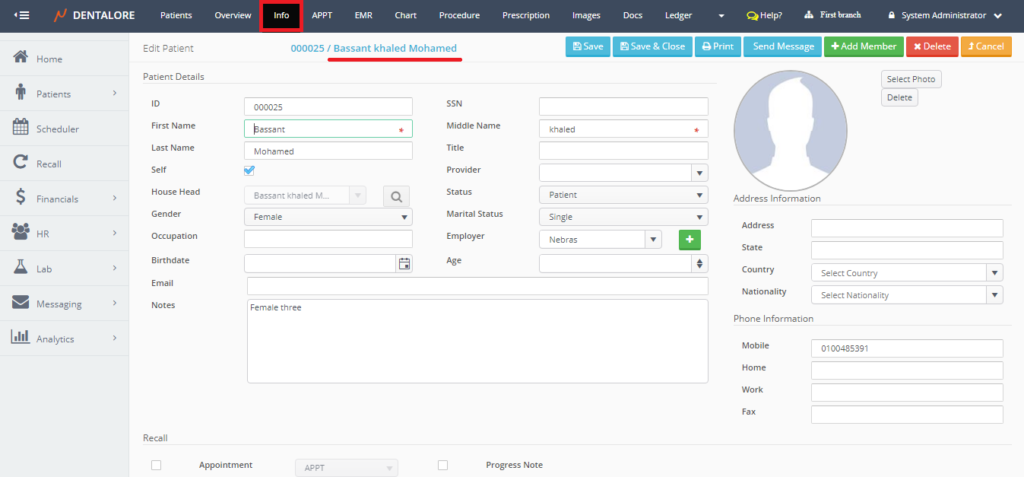
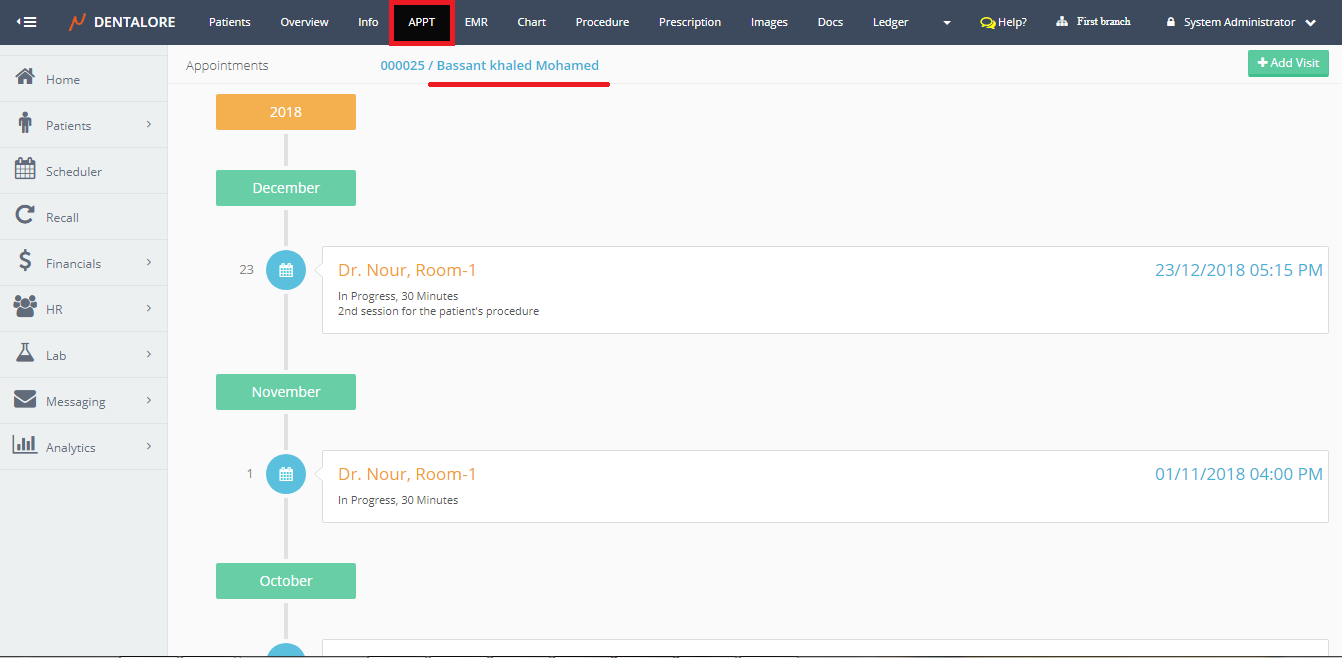
- APPT
- When selected, User will be directed to the patient's appointments (APPT View).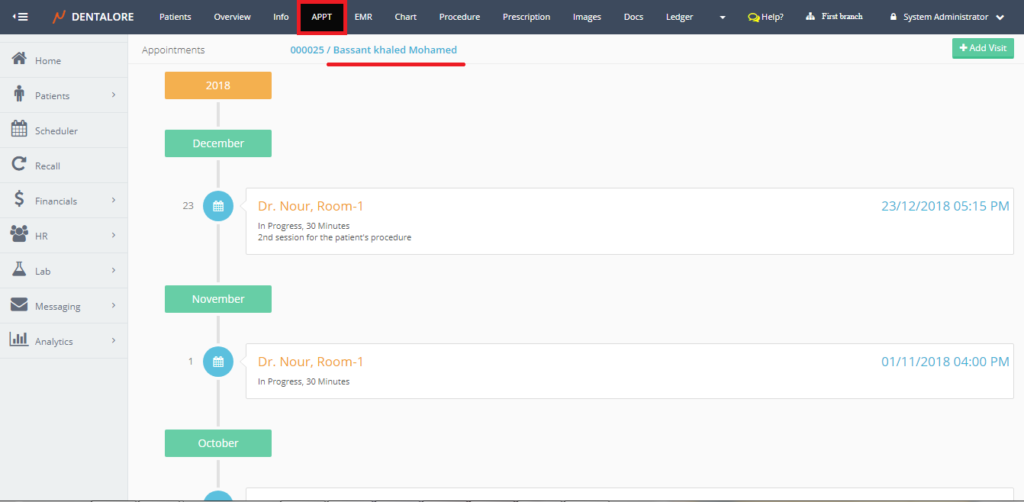
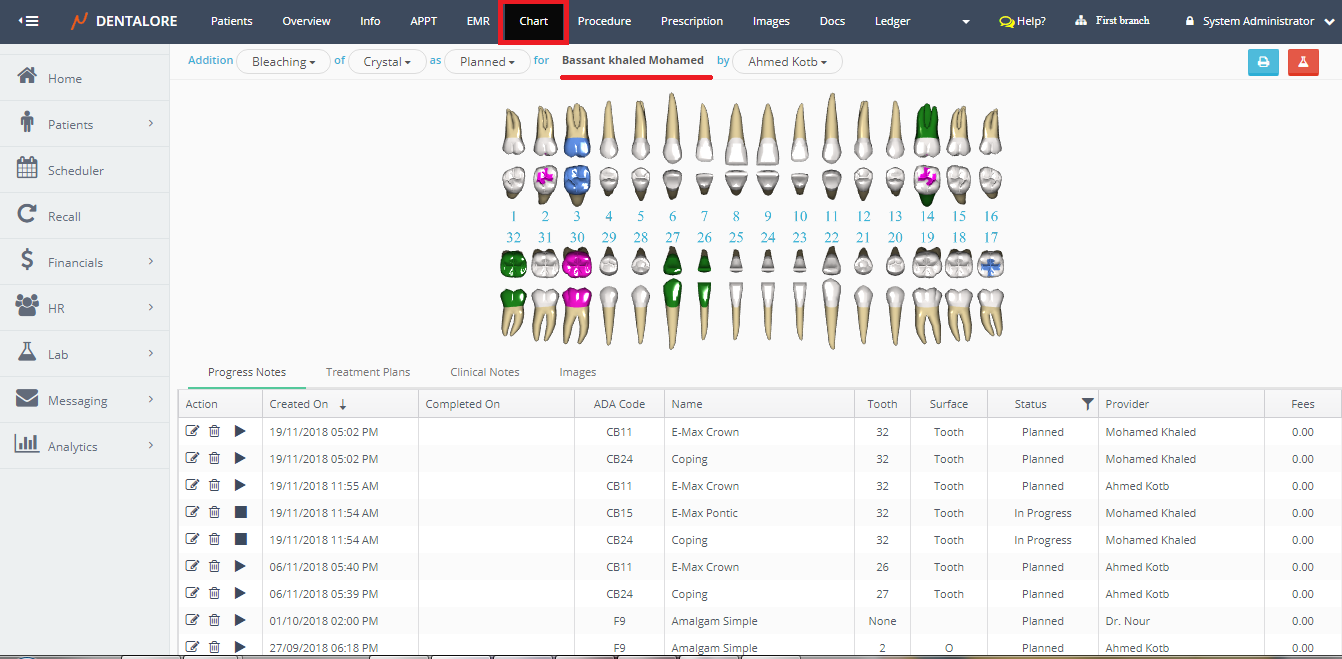
- Patient Chart
- When selected, User will be directed to the patient's Chart (Chart View).
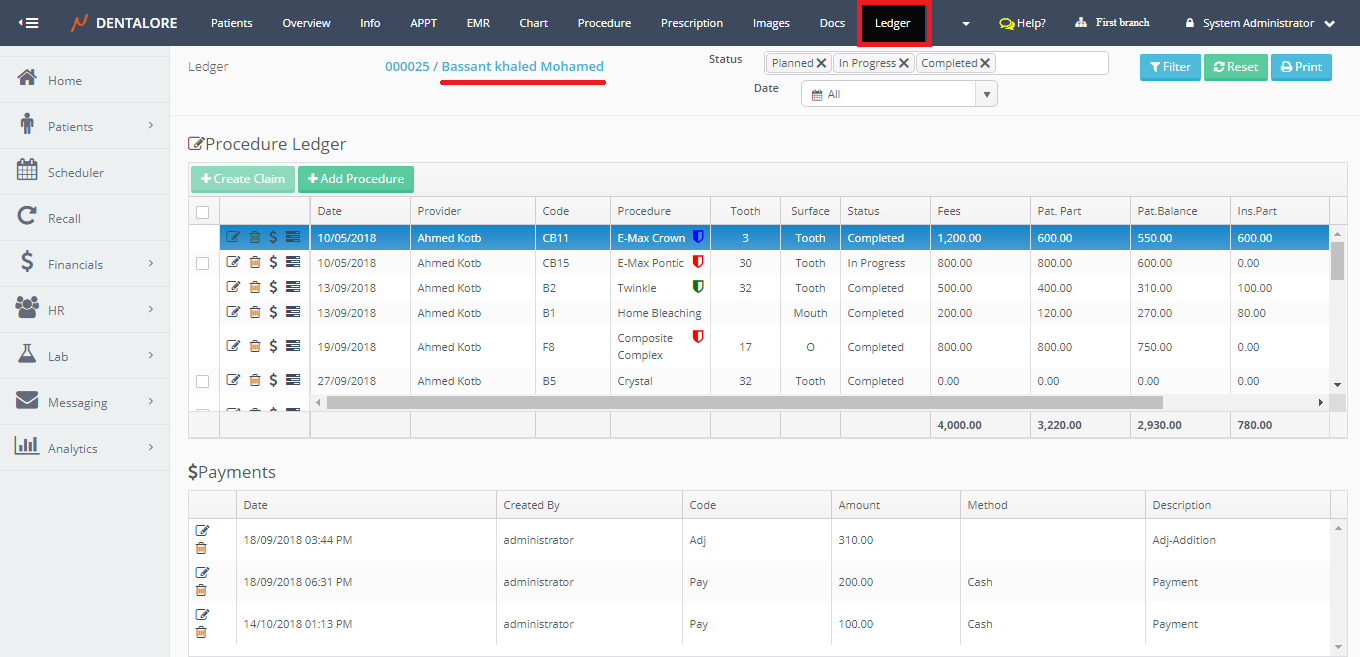
- Patient Ledger
- When selected, User will be directed to the patient's Ledger (Ledger View).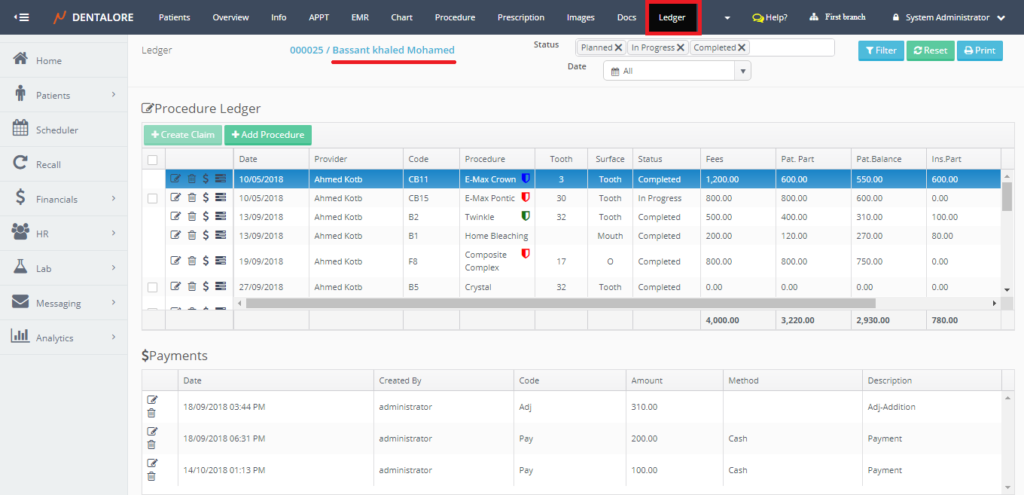
- Print Ticket
- This option used to print ticket for the selected visit, When pressed user will be directed to new tab that displays the visit's info to be printed.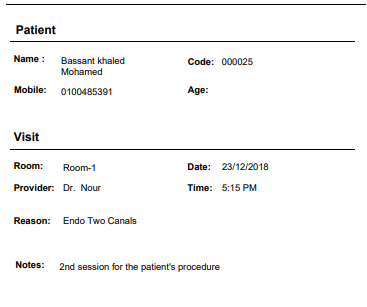
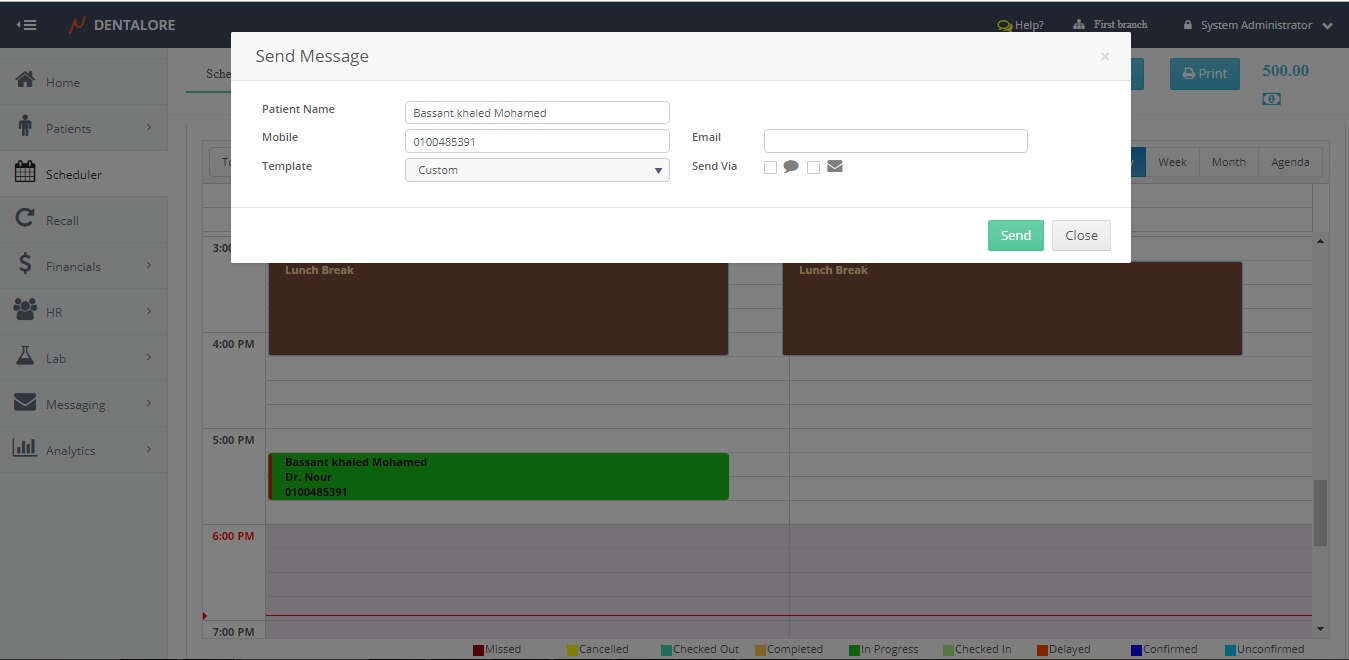
- Send Message
- This option enables user to send manual message (SMS and/or Email) to the patient. When pressed, a Popup "Send Message" opens.
For more Information, Check: Sending Manual Messages to patients.