
Ledger is the place that manages all of the patients' financials and displays the fees of procedures, paid amount, remained amount and any adjustments performed on the procedures of patient.
Ledger in Dentalore system could be displayed in 2 different views; Procedure Ledger and Open Ledger that's managed from the settings module. For more information, Check: Configure Accounting Settings.
Procedure Ledger
Is the view that enables user to manage the payment and adjustment transactions per procedure.
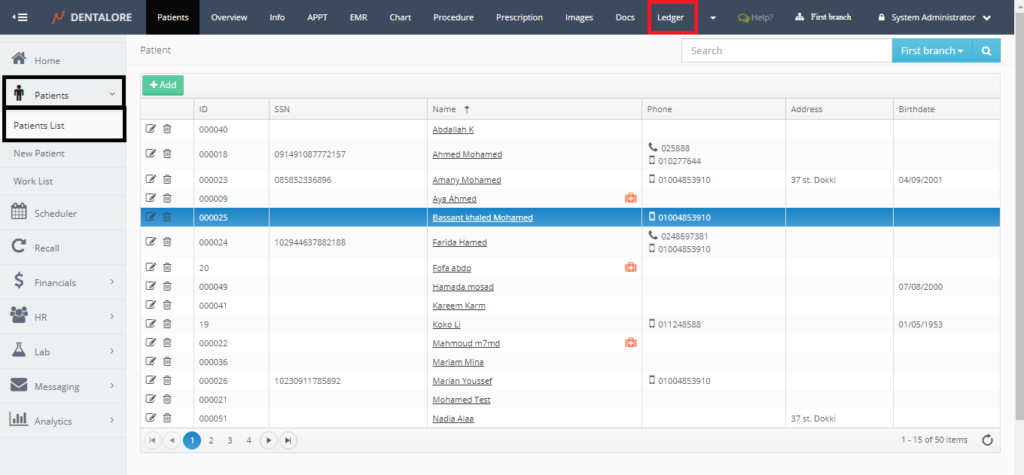
To Access the Ledger module, follow the following:
- Expand "Patients" menu and Select "Patient List".
- Select any of the existing patients and then Select "Ledger".
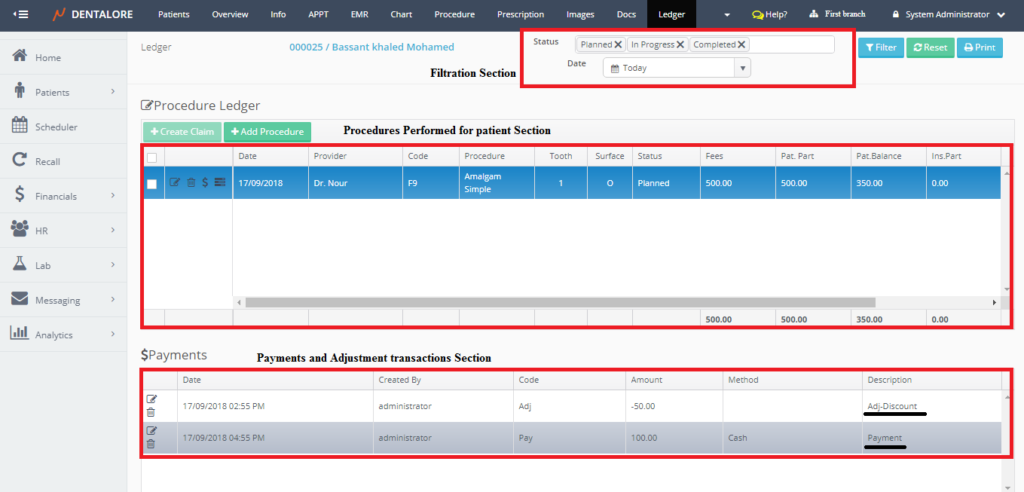


Procedure Ledger View is mainly divided in to 3 sections:
1- Filtration Section
User could filter the patient's procedures displayed in the procedures section using status of procedures and a specific date range.
- Status: Is an auto-complete box enables user to select the status of procedures required to be displayed in the procedures grid view. Status of Procedures could be: (Planned, In Progress, or Completed). By Default Ledger view displays all status.
- Date: Is a drop down menu to select the procedures required to be displayed in procedures grid view within a specific date range. Date could be: (All, Tomorrow, Today, Yesterday, Current Week, Last Week, Current Month, Last Month, Current Year, Last Year, and Custom range). By Default Ledger view displays today's procedures.
- "Filter" button: Once pressed the result of data set in Status and Date fields of filtration will be displayed in the procedures grid view.
- "Reset" button:" Once pressed the fields of Status and Date are reset to it's default values.
- "Print" button: Enables user to print the patients' payments and adjustments in 3 different printouts. For more information, Check: Ledger Printouts.
2- Procedures Section
Procedures section displays all of the procedures added for the patient in his/her progress notes, each procedure is displayed by it's related actions and data which are:
- Check box: This Check box exists only for the patients who have insurance in order to give the user the ability to create claims for the procedures that the insurance will pay part for it's fees.
-- When Check box beside a procedure is ticked; then the "Create Claim" button becomes enabled.
-- When Check box beside a procedure is not ticked; then user can't create claim for this procedure.
-- There is a parent Check box that user could tick it then all of the child check boxes will be checked and a claim could be created for all procedures.
>> For more information about claims, Check: Create Claim. - Actions Column: Includes 4 different actions for each procedure:
-- "View" Icon: Once pressed user is directed to "Edit Procedure" page, in order to edit any of the info related to the procedure itself.
-- "Delete" Icon: Once Pressed, popup "Delete Progress Note" appears to cancel or confirm the deletion of the selected procedure. For more information, Check: Delete Procedure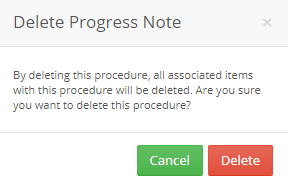
-- Pay: Once pressed user is directed to new page "Add Payment", in order to add payment for the selected procedure. For more information, Check: .......
-- Adjust: Once pressed user is directed to new page "Add Adjustment", in order to add adjustment on the selected procedure. For more information, Check: ....... - Date: Is the date when the procedure has created.
- Provider: Is the name of provider who performed the procedure for the patient.
- Code: Is the ADA Code of the selected procedure.
- Procedure: Is the name of procedure.
- Tooth: Displays the number of tooth (For procedures performed on one tooth) or the teeth range (For Procedures performed on a teeth range) and so on.
- Surface: Displays the name of treatment area where the performed procedure work on.
- Status: Is the status of procedure, that could be: (Planned, In Progress, or Completed).
- Fees: Is the amount of money that should be paid for the procedure.
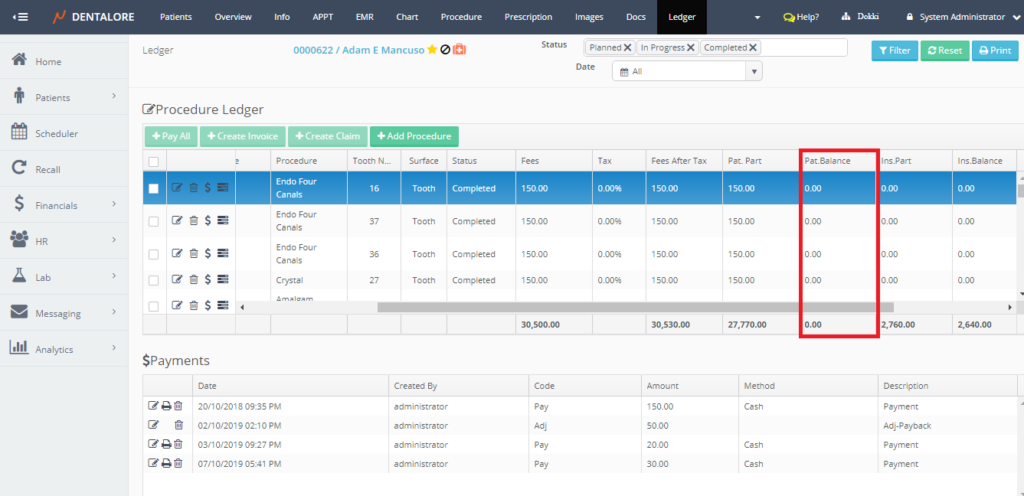
- Pat. Part: Is the amount of money that should be paid by Patient.
- Pat. Balance: Is the remaining amount of money that should be paid by Patient.
- Ins. Part: Is the amount of money that should be paid by Insurance company.
- Ins. Balance: Is the remaining amount of money that should be paid by Insurance company.
- Claim: Is the column that displays if there is a claim created for the procedure or not that it displays either claimed or Unclaimed.
- "Filter" icon exist in the (Claim) column in order to enable user to filter listed procedures which is claimed and which not.
- Invoice: Is the column that displays if there is an invoice created for the procedure or not that it displays either Invoices or Uninvoiced.
- "Filter" icon exist in the (Invoice) column in order to enable user to filter listed procedures which is invoiced and which not.
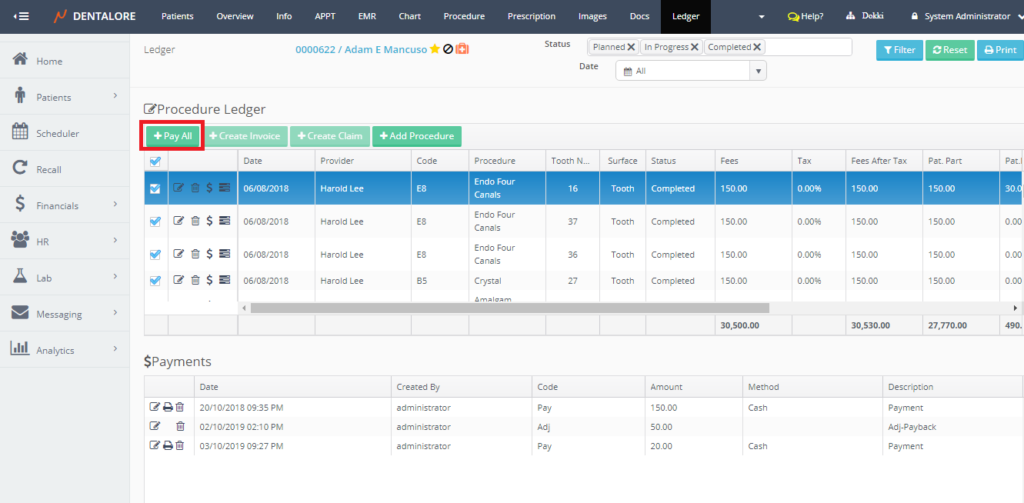
Also there are 4 buttons (Pay All), (Create Claim) , (Create Invoice) and (Add Procedures), that:
- Create Claim button: Is only enabled when check box beside a specific procedure is ticked to create a claim. For more information, Check: Create Claim.
- Create Invoice button: Is only enabled when check box beside a specific procedure is ticked to create an invoice. For more information, Check: Create Invoice.
- "Add Procedure" button: Enables user to add new procedure for the patient from ledger view. For more information, Check: Add Procedure.
- "Pay All" button: is only enabled when check box beside a specific procedure is ticked to create a payment for all procedures. For more information, Check: Pay All.
3- Pay All
Pay All button allows the user to pay for all procedures checked.
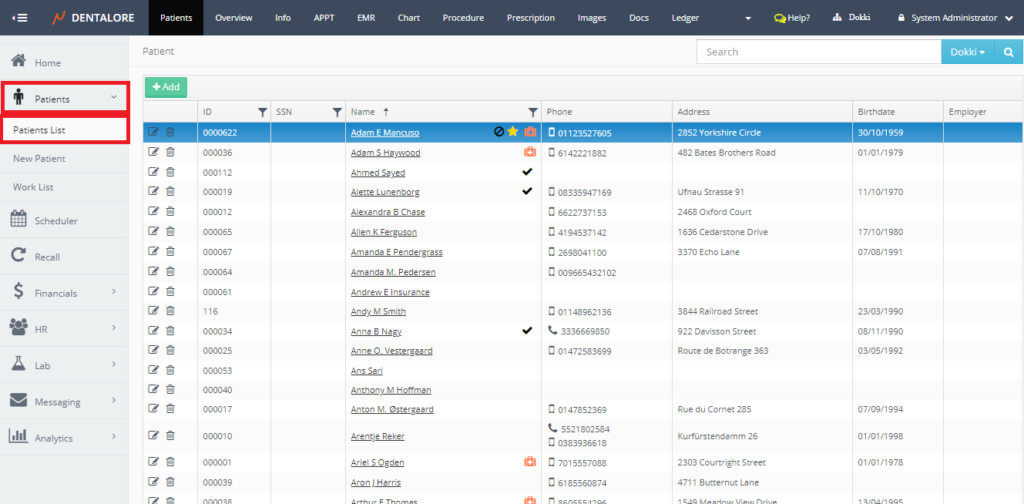
To Access the Pay All button, follow the following:
- Expand "Patients" menu and Select "Patient List".
- Select any of the existing patients and then Select "Ledger".
- In order to activate "Pay All" button check procedures you want to pay for.
- Click on "Pay All" a pop up will appear with total amount and payment method (Cash, Credit Card and Check) to select.
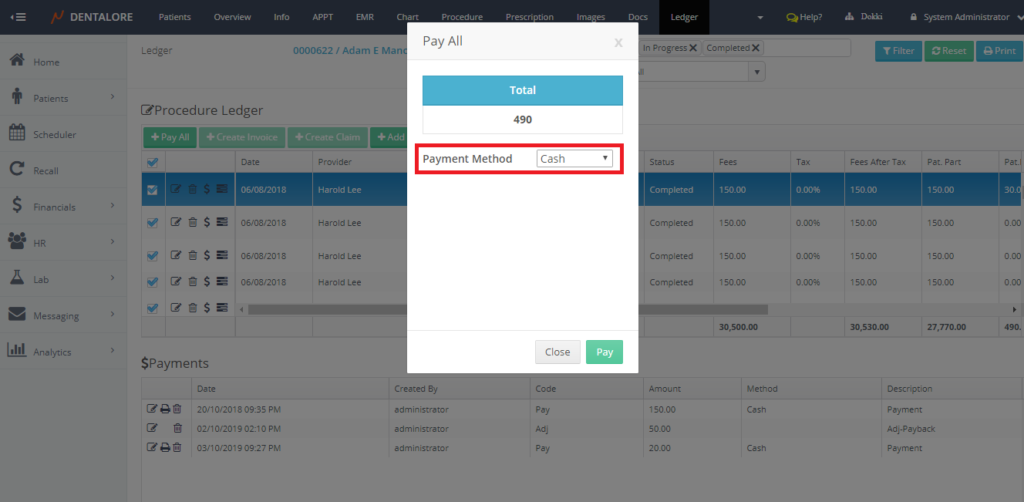
- Click "Pay" pop up is closed and patient balance is zero.
In case Check is selected Enter Check Number , if Credit Card is selected enter Reference Number.
4- Payments Section
This section displays all of the payment and adjustment transactions performed for a selected procedure. Each Transaction displayed by it's related data which are:
- Actions Column: Includes 2 different actions for each transaction:
-- "View" Icon: Once pressed for a payment transaction, then user is directed to "Edit Payment" page, in order to edit any of the info related to it. For an adjustment transaction, user is directed to "Edit Adjustment" page.
-- "Delete" Icon: Once pressed for a payment transaction, then Popup "Delete Payment" appears. And for an adjustment transaction; Popup "Delete Adjustment" opens to cancel or confirm the deleting of the transaction.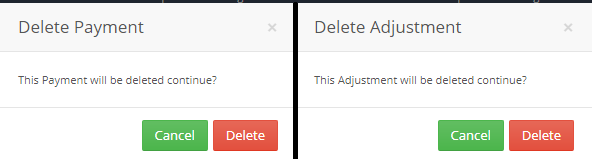
- Date: Is the date when the transaction (Payment and Adjustment) has been created.
- Created By: Is the name of user who performed the transaction (Payment and Adjustment).
- Code: Is a column that displays if the transaction is a payment or adjustment. This code is generated by system as (Adj) for adjustment transactions and (Pay) for payment transactions.
- Amount: Is the amount of money set for the transaction, this amount could be displayed in positive and negative values as follow:
-- Payment Amount: Positive Value displayed.
-- Adjustment (Addition) Amount: Positive Value displayed.
-- Adjustment (Discount) Amount: Negative Value displayed.
-- Adjustment (Payback) Amount: Positive Value displayed. - Method: Is the way how this transaction has been paid. Payment Method could be via: (Cash, Check, or Credit card). For the adjustment transactions; this field is blank.
- Description: Is the description written for each transaction. Description field is set by default for each transaction as follow and user has the ability to change it:
-- Payment transaction: Description field contains "Payment".
-- Adjustment (Addition) transaction: Description field contains "Adj-Addition".
-- Adjustment (Discount) transaction: Description field contains "Adj-Discount".
-- Adjustment (Payback) transaction: Description field contains "Adj-Payback".