From settings module, User has the ability to configure drugs, and manage the shape (template) of the prescription printout.
Prescription Templates
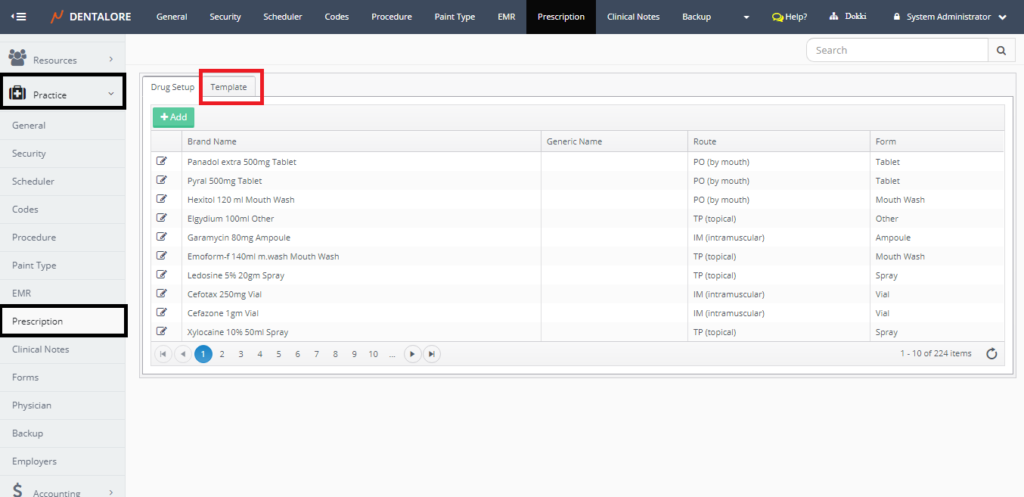
- Open short cut menu in navigation bar on the upper right side of screen, and select "Settings".

- Expand "Practice" menu and select "Prescription" sub module.
- By default "Prescription" opens on the (Drugs) tab, Select "Templates".
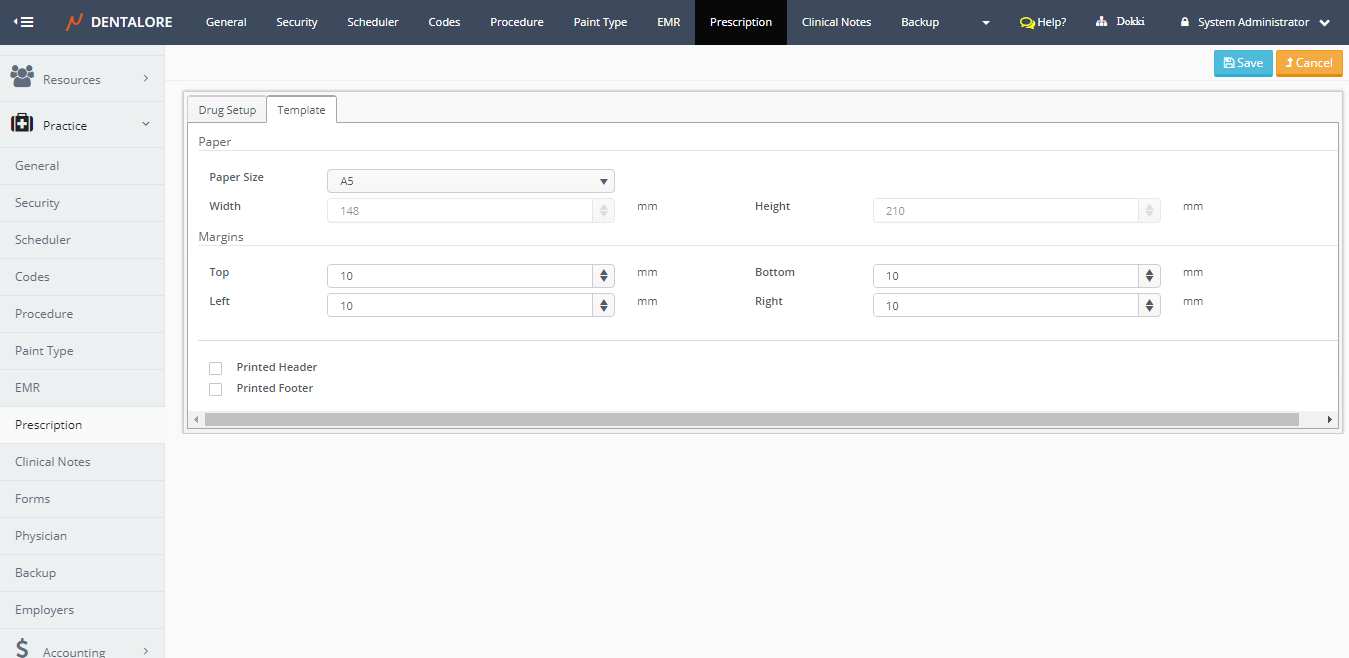
- From "Template" tab, user could set the required configurations for the paper size, control margins, and select if he wants to add header and footer or no.
The paper settings includes the following fields:
-- Paper size: Is a drop down menu that contains available paper sizes for prescription printout, that could be: (Custom, A4, Letter, A5). If user selects the paper size to be "Custom" then; the (Width) and (Height) fields becomes enabled.
>> By default paper size selected to be A5.
-- Width: Is the width of prescription printout in measuring unit of millimeter (mm), that's only enabled if user selects the "Custom" paper size.
-- Height: Is the height of prescription printout in measuring unit of millimeter (mm), that's only enabled if user selects the "Custom" paper size.
-- Margins: Is the option to set the space required to be left from the 4 sides of paper (Top, bottom, Left, and Right).
>> By default margins of paper are set to 10 mm.
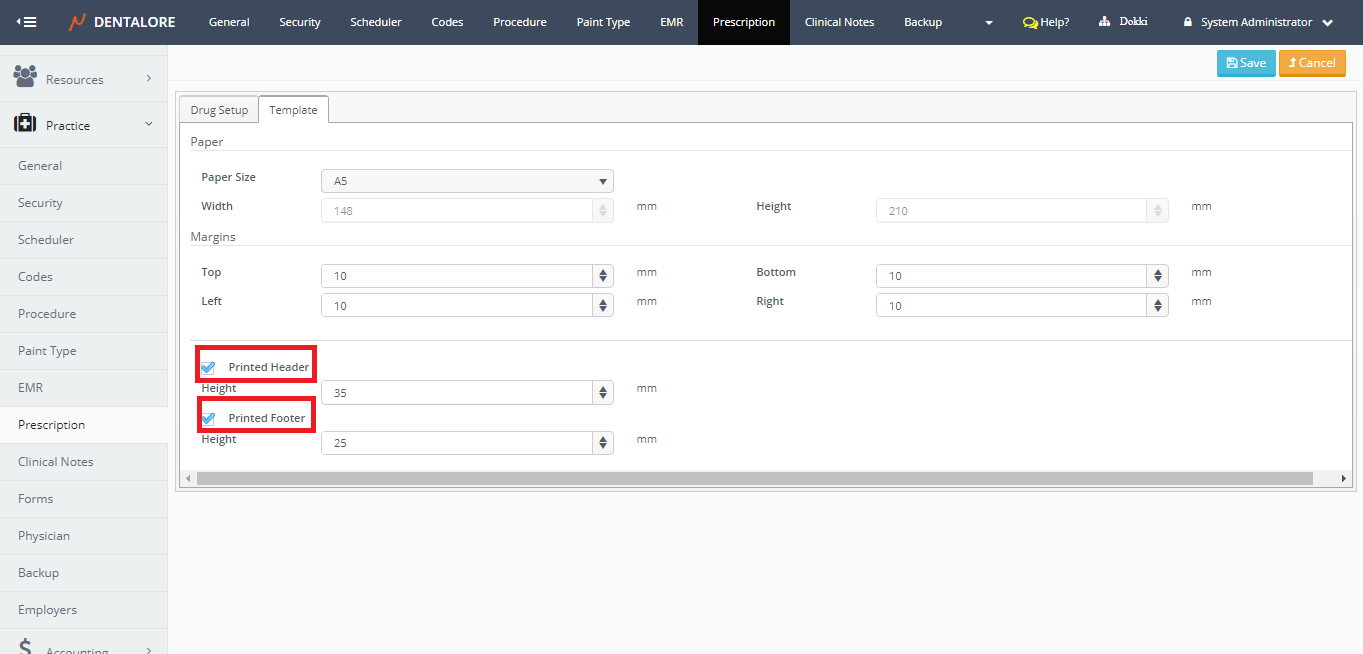
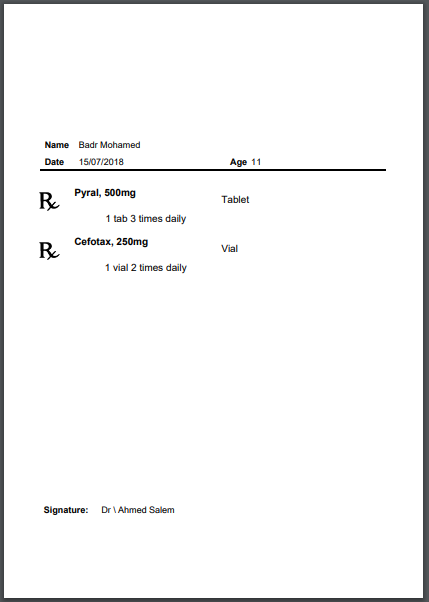
- If the check boxes of (Printed Header) and (Printed Footer) are Checked, then the prescription printout will be displayed with no images attached at header and at footer.
That could be used to print the prescription on the clinic's paper that already have the clinic's logo and information.
Note that: The (Height) field appears after ticking the check boxes of (Header and Footer) refers to the height of space left before starting and before ending the prescription's page.
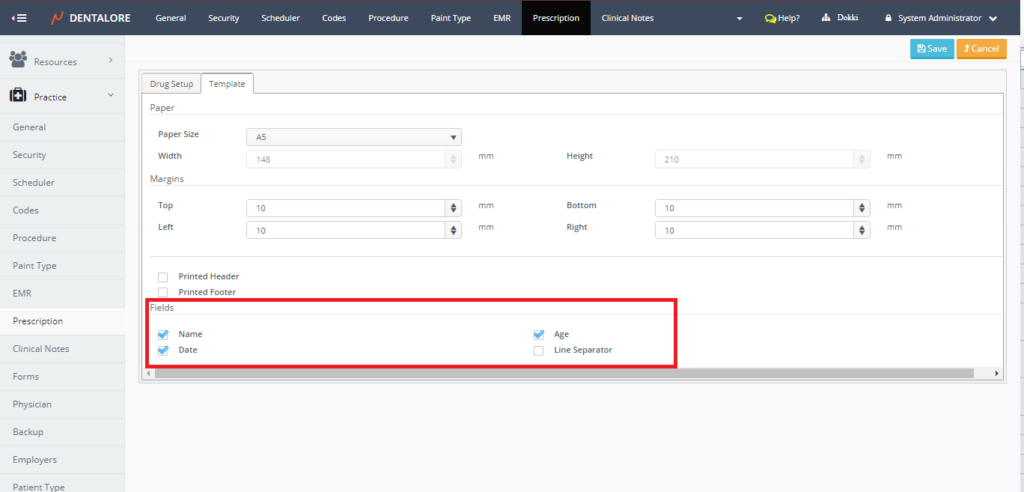
>> Reflection on the Prescription Printout looks like: - If the check boxes of (Name, Age and Date) then the prescription printout will be displayed with name, age and date in header.
- If the check boxes of (Printed Header) and (Printed Footer) are Un-Checked, then the prescription printout will be displayed with images attached at header and at footer.
For more information about how to manage images of header and footer, check: Configure Layouts.
That could be used to print the prescription on white paper, where the prescription printout will include the clinic's logo and information.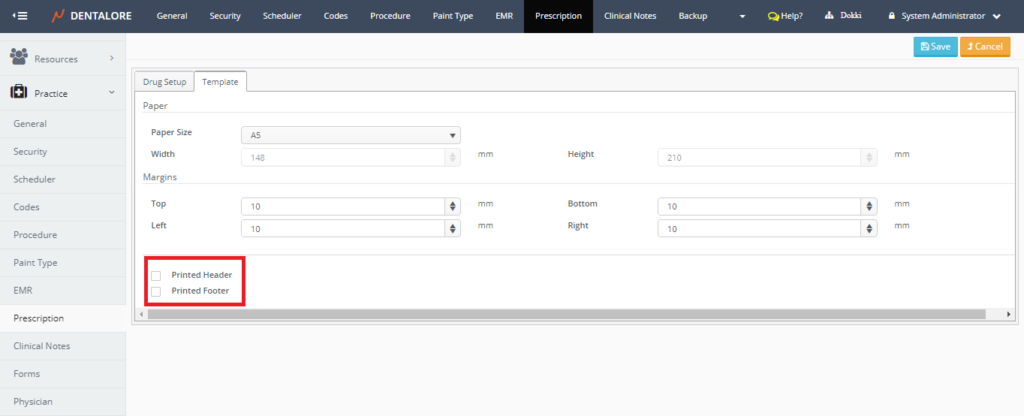
Note that: The space taken by the images in header and footer is of the same height selected from the (Height) field.
>> Reflection on the Prescription Printout looks like: Note that: User have the ability to tick the check box of (Printed Header) only or tick the (Printed Footer) only, or ticking both of them, or not ticking any of them, it depends on the need of user.