Each user created in Dentalore cloud system could have access rights that enables him/her to manage his work through them. So users should be added to security groups that manages these access rights.
By default Dentalore System offers 3 predefined security groups to fulfill this requirement. As well admin has freedom to add users in one of the predefined groups or create new security groups with required access rights upon clinic’s needs.
To Configure Security Group, Follow the following:
- Press your name at the top right corner and Select "Settings".

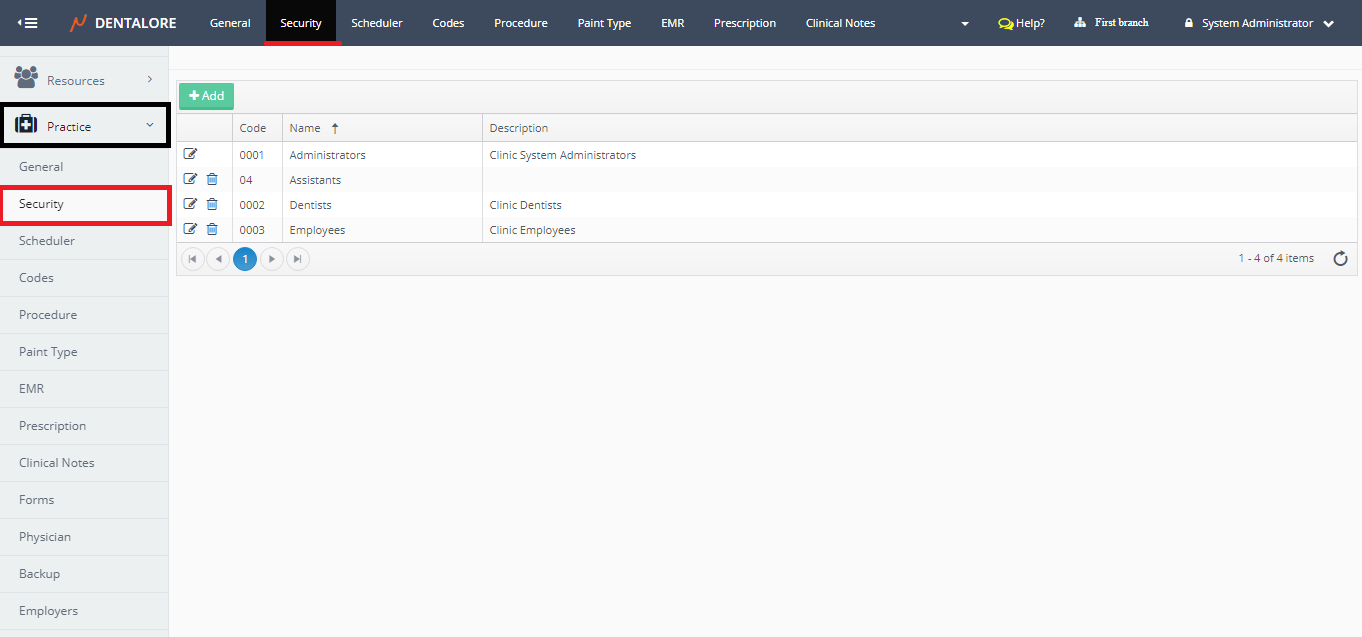
- Expand Practice Menu and select “Security”.

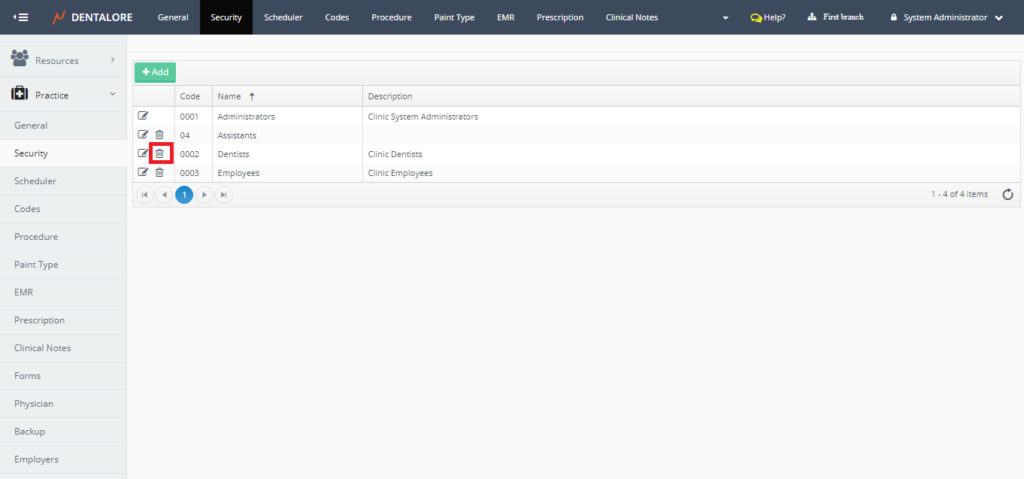
- Security main page contains all of the defined security groups listed in grid view and an "Add" button to add new security groups.
- Note that the (Administrators), (Dentists) and (Employees) groups are automatically created by Dentalore system and user can't delete the (Administrators) group.

1) Add Security Group
- Press "Add" button.
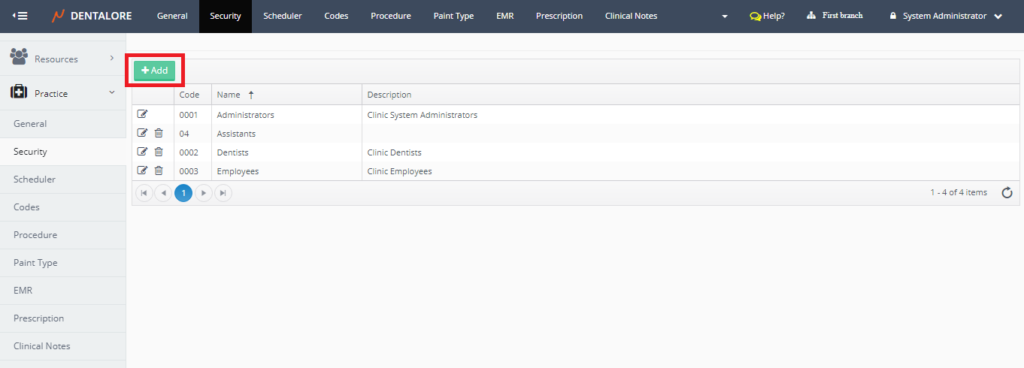
- You will be directed to "Add Security Group" page.
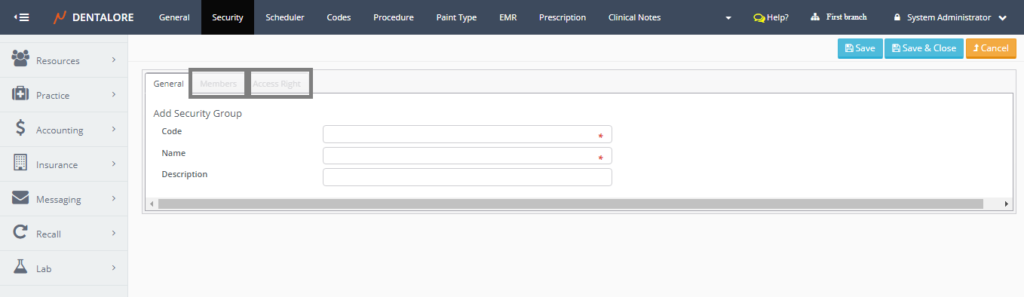
- 'Add Security Group' page contains 3 tabs: General, Members, and Access Rights, with the (Members) and (Access Rights) tabs disabled.


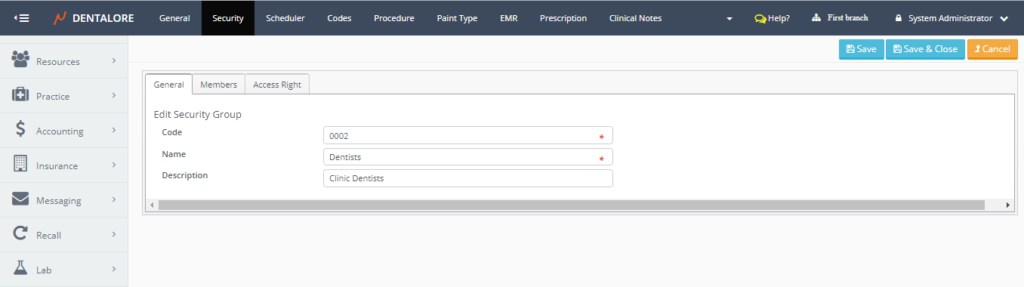
First; General Tab
This tab defines the information of the security group through the following fields:
- Code: Is a unique code (ID) for each security group. And it's a mandatory field that user must fill-in to be able to save the new security group.
- Name: Is the name of security group. And it's a mandatory field that user must fill-in to be able to save the new security group.
- Description: field to add extra information about the security group.
- Control buttons:
- "Save": Will save the new security group, User directed to 'Edit Security Group' page and the 2 tabs (Members and Access rights) becomes enabled.
- "Save&Close": Will save the new security group and user directed to 'Security groups' main page.
- "Cancel": Will not save the new security group and user directed to 'Security groups' main page.
After filling in the required data and then saving the security group; both of the (Members) and (Access Rights) tabs become enabled.
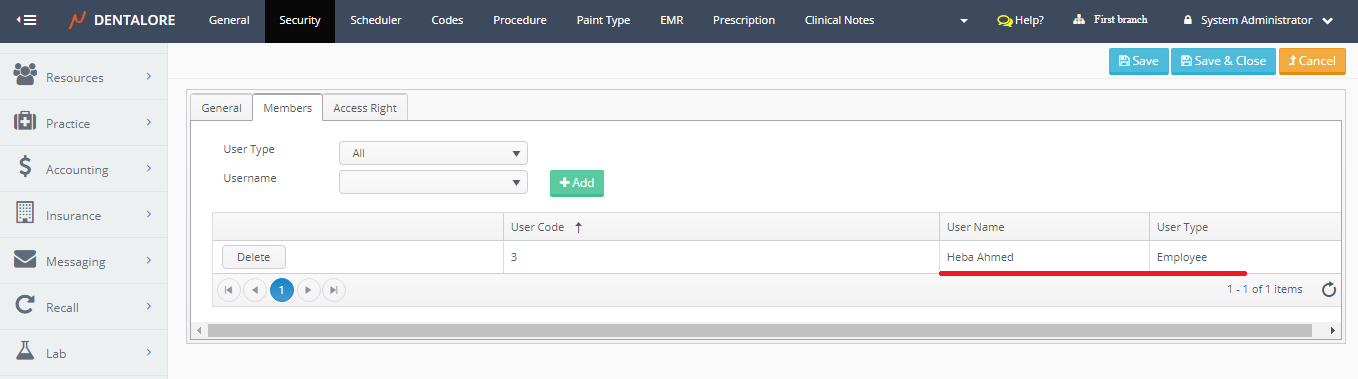
Second; Members Tab
This tab enables user to add members that will belong to the selected security group and will be affected with it's access rights.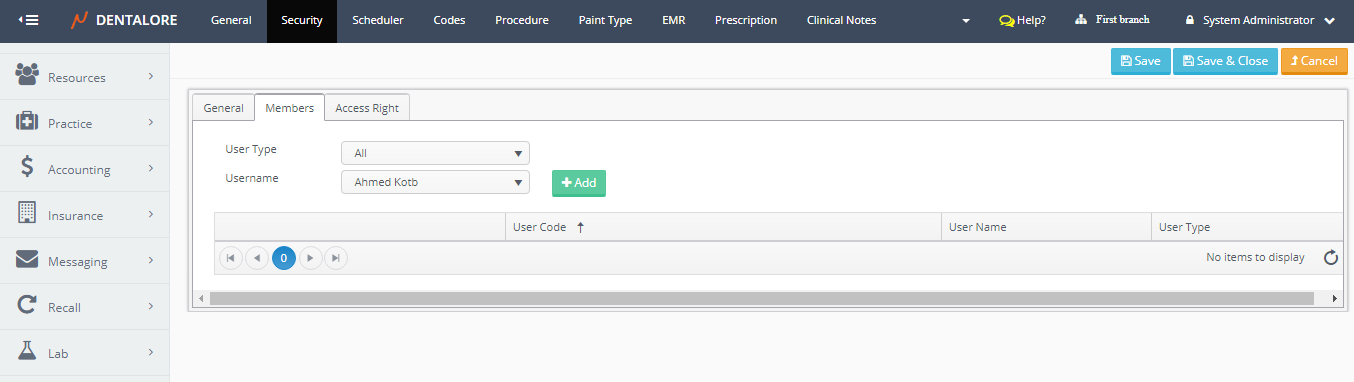
- In the (Members) tab there are 2 fields that enables user to add members which are:
- User Type
- Is a drop down menu that contains the types of users in DentaLore system that could be: (Provider or Employee).
- Default Selection is: All. - Username
- Is a drop down menu that displays all of the users in the selected branch from navigation bar (Per Branch), that's In case 'User Type' selection is (All).
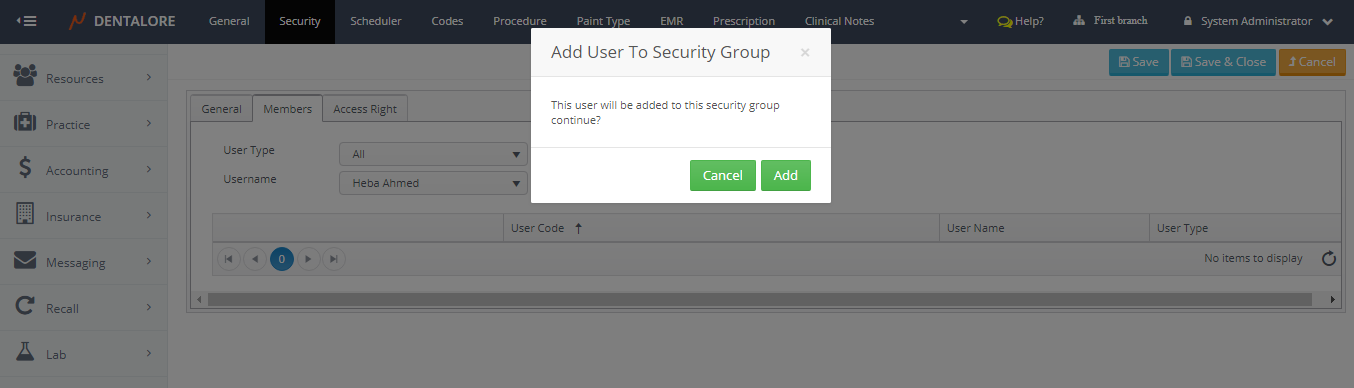
- And similarly if the 'User Type' selection is: Provider then the "Username" drop down menu displays only the providers who are assigned to the selected branch. - "Add" button: Used to add selected users in the members table, that once pressed a popup "Add User to Security Group" opens to confirm or cancel the adding of the selected user to the group.
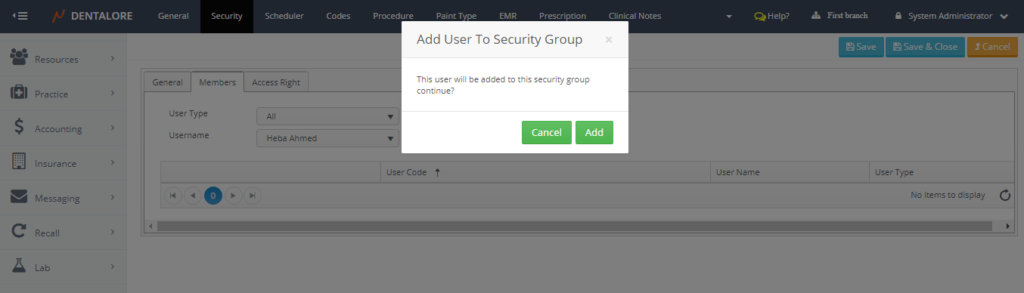
- "Cancel" button: Will not add the selected user to group.
- "Add" button: Will add the selected user to the group, that when pressed user will be listed in the 'Members' table.
- For more information about adding members to security groups, check:
- Add Provider to Security Group.
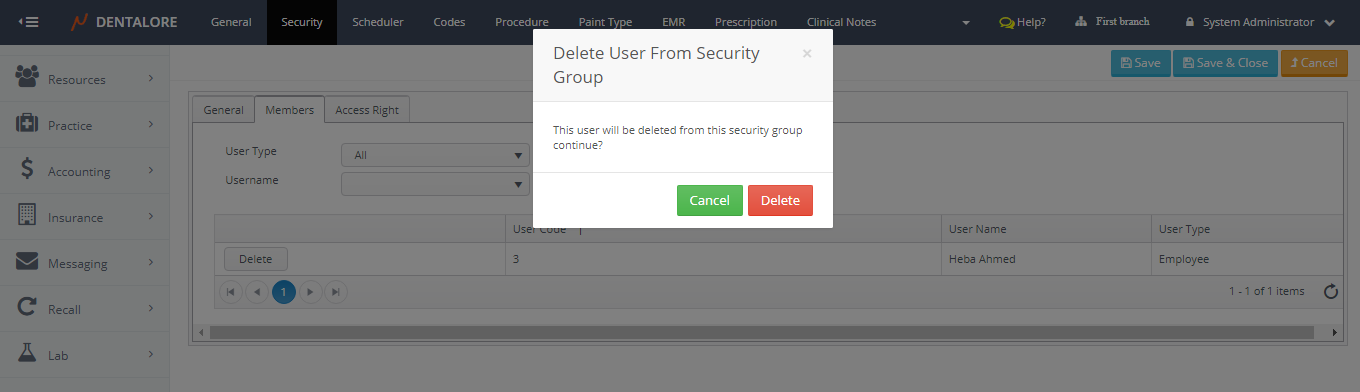
- Add Employee to Security Group. - As well user could remove any of the added members from the "Delete" button in the 'Members' table.
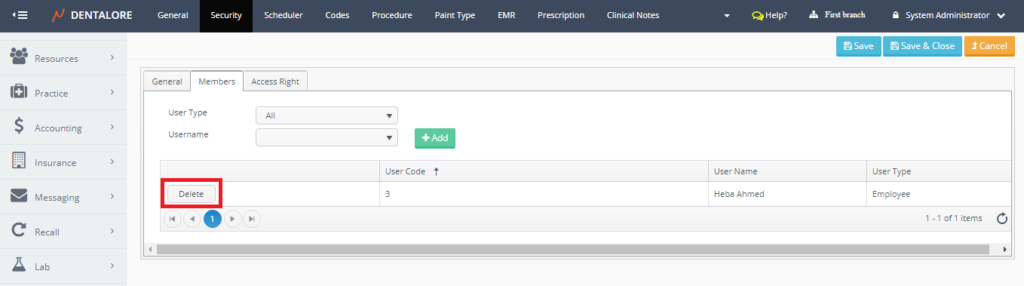
- When "Delete" button, a popup "Delete User From Security Group" opens to confirm or cancel the removing of member (User) from the table.

- "Cancel" button: Will not delete the selected member and it's still displayed in the 'Members' grid view.
- "Delete" button: Will directly delete the selected member and it will be removed from the 'Members' grid view.

Third; Access Rights Tab
This tab enables user to select access rights that will be given to the group.
- Note that: By default all of the Access rights fields are not ticked for new groups.
Access Rights tab contains 10 tabs inside it: (Patient, Scheduler, Financials, Claims, Analytics, Settings, Messaging, Labs, HR, and Recall).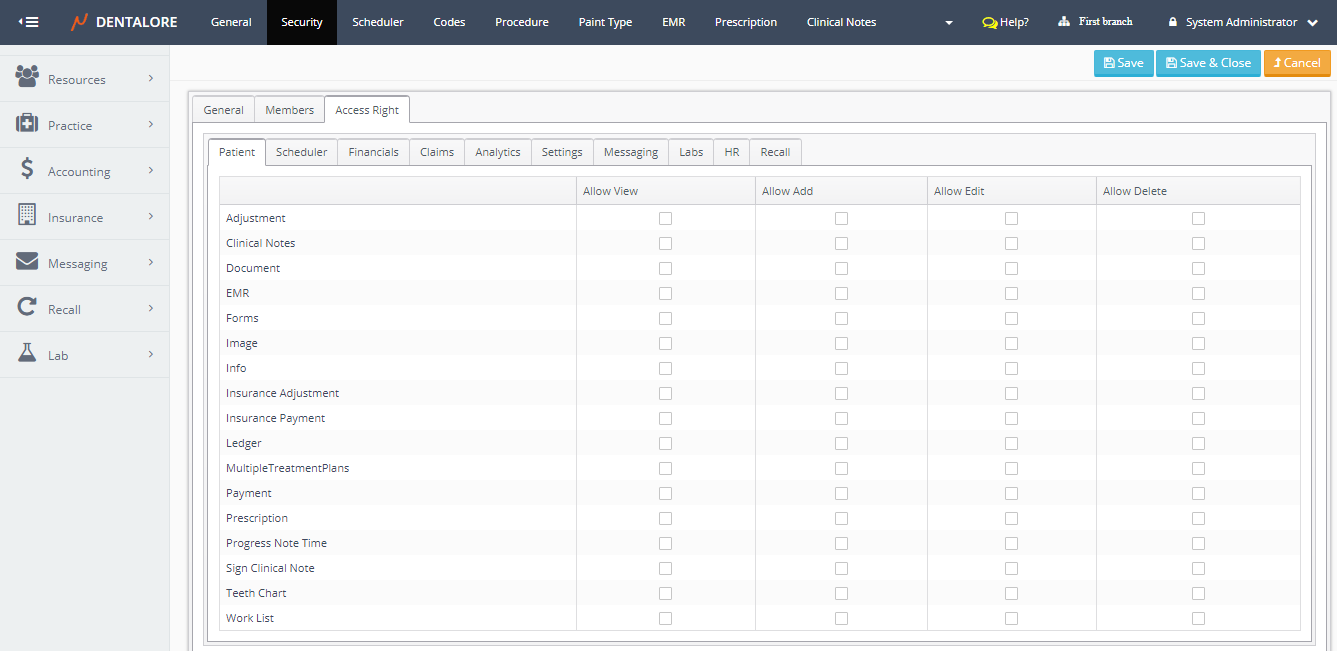
All DentaLore Functions for different users are controlled from this tab.
For more information about each tab, Check the following:
- Patient Access Rights.
- Scheduler Access Rights.
- Financials Access Rights.
- Claims Access Rights.
- Analytics Access Rights.
- Settings Access Rights.
- Messaging Access Rights.
- Labs Access Rights.
- HR Access Rights.
- Recall Access Rights.
2) Update Security Group
- Press the "View" icon beside the required security group.

- You will be directed to "Edit Security Group" page in order to update required data either in the group's information, members or in their access rights.


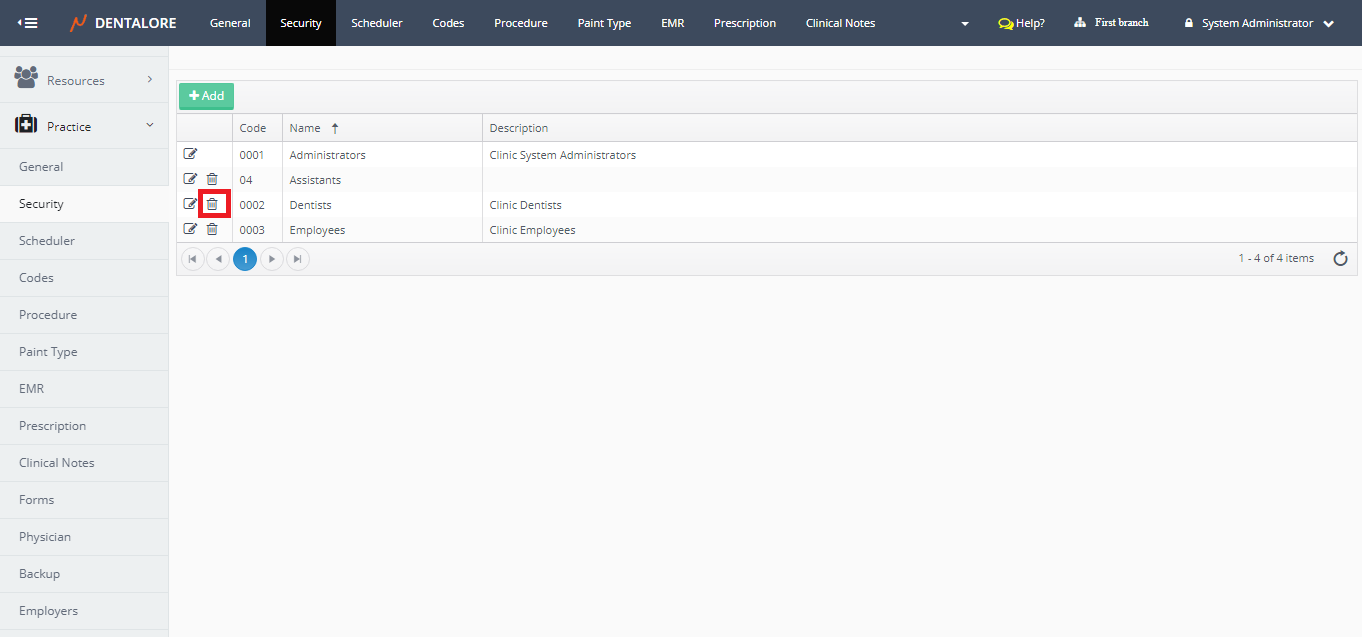
3) Delete Security Group
- Press the "Delete" icon beside the required security group.
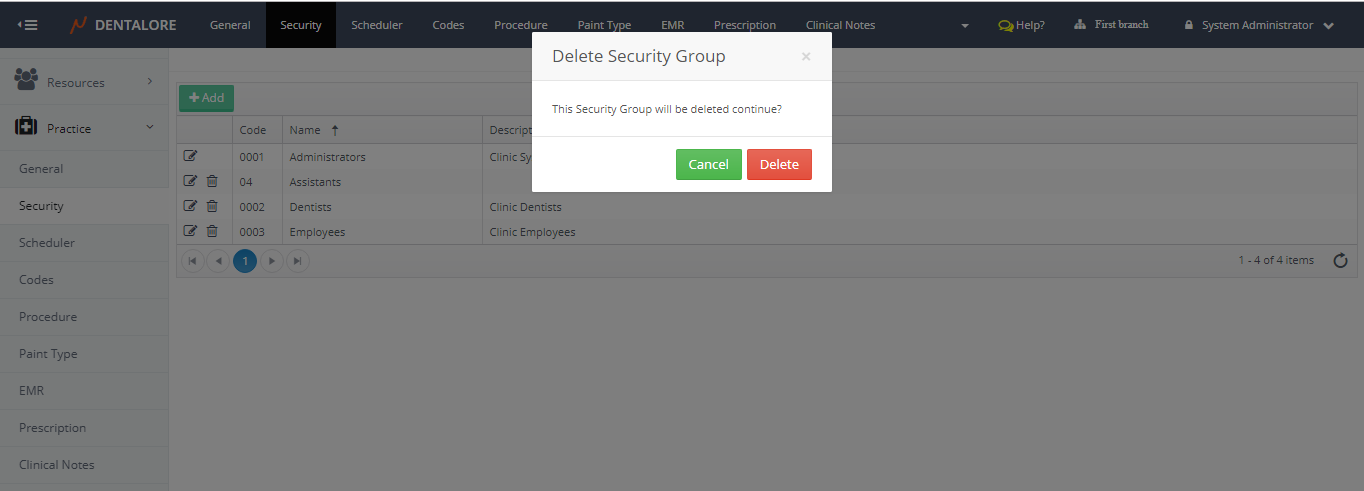
- Popup "Delete Security Group" opens to confirm or cancel the deletion of selected group.

- "Cancel" button: Will not delete the selected security group and it's still displayed in the 'Security groups' grid view.
- "Delete" button: Will directly delete the selected security group and it will be removed from the 'Security groups' grid view. - Note that: (Administrators) security group can't be deleted.