
Messaging Module in DentaLore offers user many functions that help him to send messages (SMS abd/or Email) to patients, among those functions is the ability to Create group of existing contacts (Patients) in order to send campaigns for them according to different conditions set by user.
Groups (Contacts) View
To Access the Contacts View, follow the following:
- Expand Messaging menu then select Marketing >> "Groups".
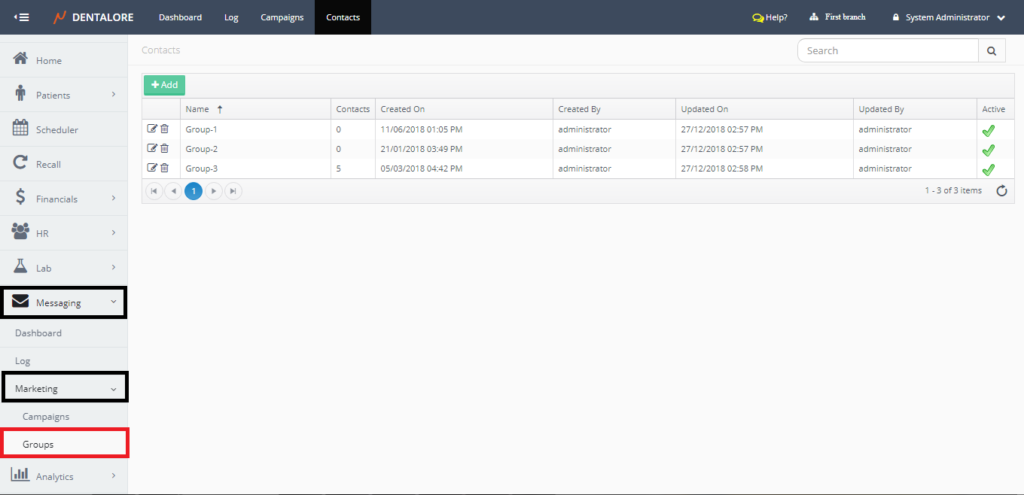

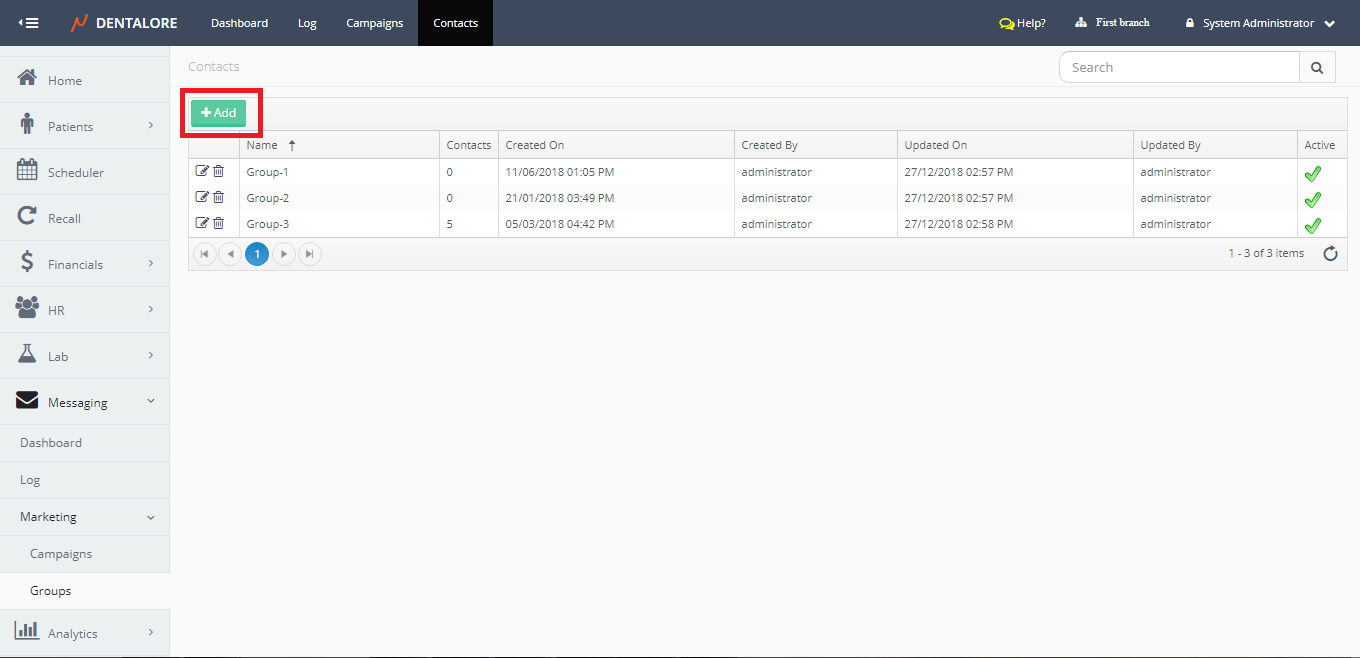
1) Add Contact Group
- Press "Add" button.

- You will be directed to new page "Add Contact List".
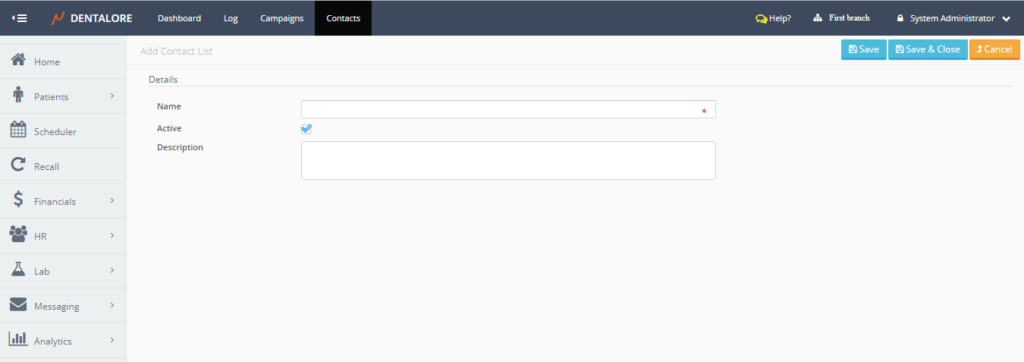
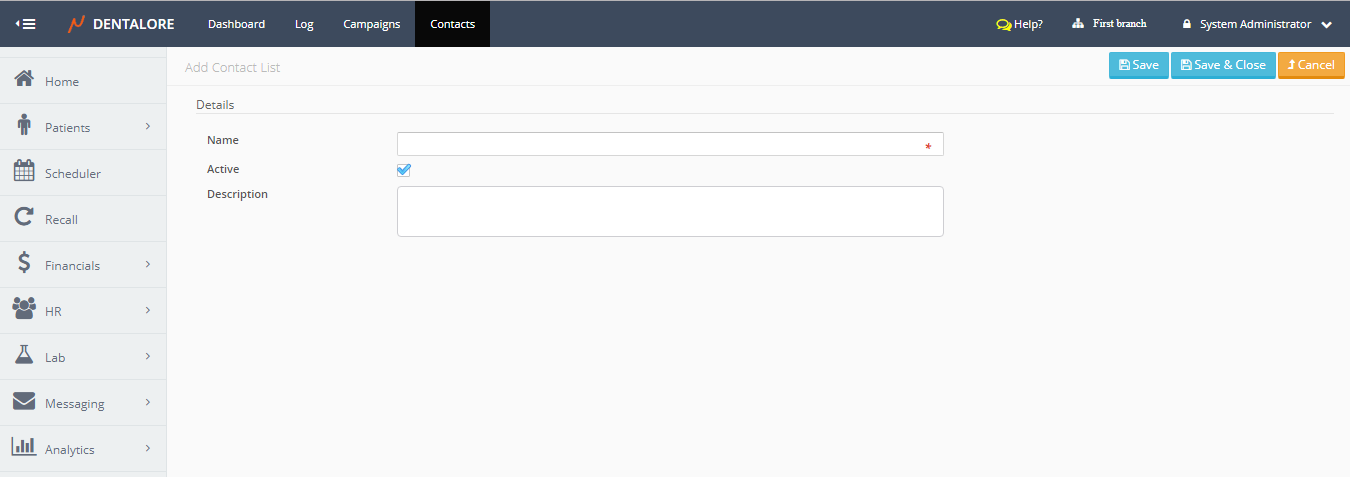
"Add Contact List" page contains the following fields:
- Name
- Is the contact group's name. And it's a mandatory field that user must fill-in to be able to add new group. - Active
- Is a check box that's ticked by default which means that this contact group could be used in Campaigns, while if the check box is not ticked then that means the group is inactive and can't be used. - Description
- Is field to add extra information about the contact group. - Control buttons:
- "Save" button: Will save the new contact group, User directed to "Edit Contact List" page and new section "Contacts" appears in order to add contacts.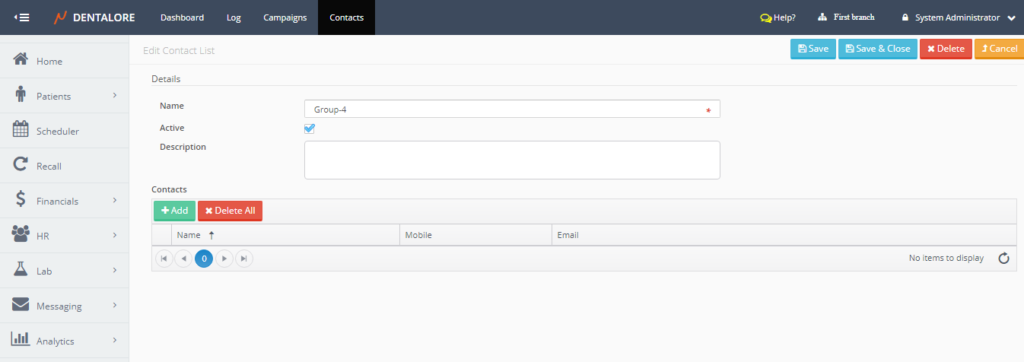
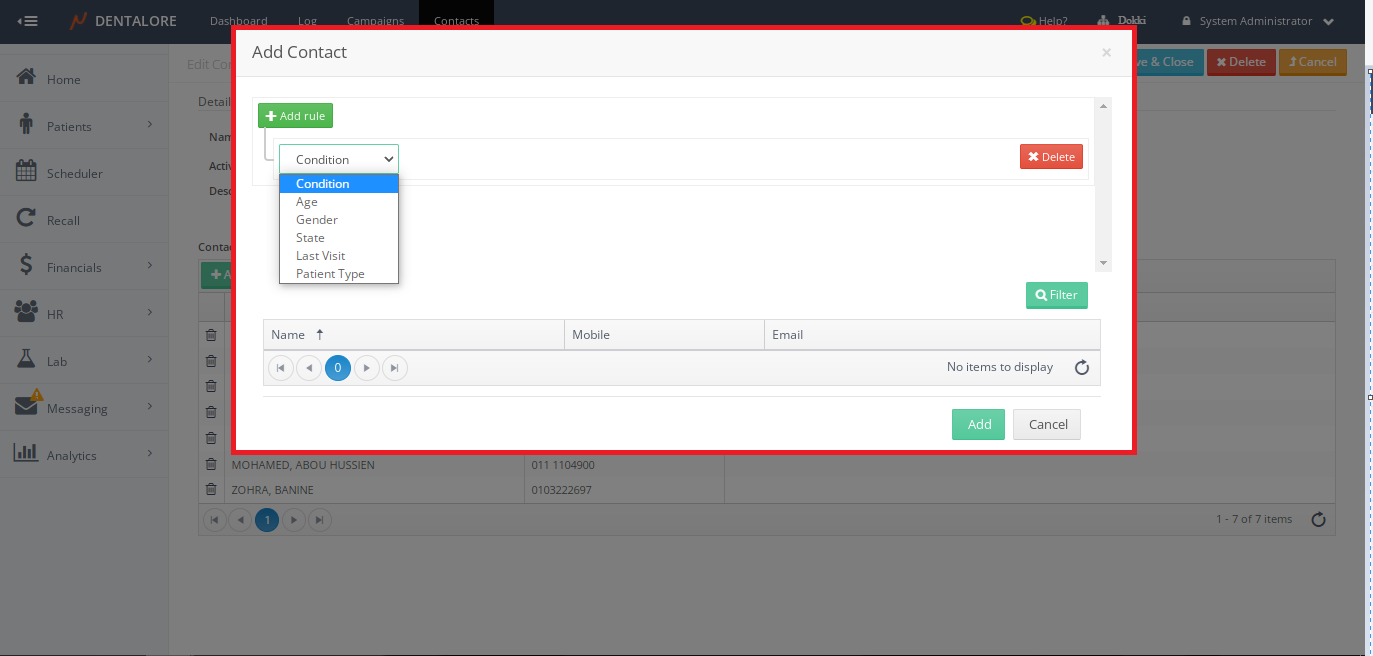
-- In order to add contacts to the group; press "Add" button in 'Contacts' Grid View. Then a new Popup "Add Contact" opens to add contacts according to conditions of: (Age, Gender, State, Last Visit or Patient Type).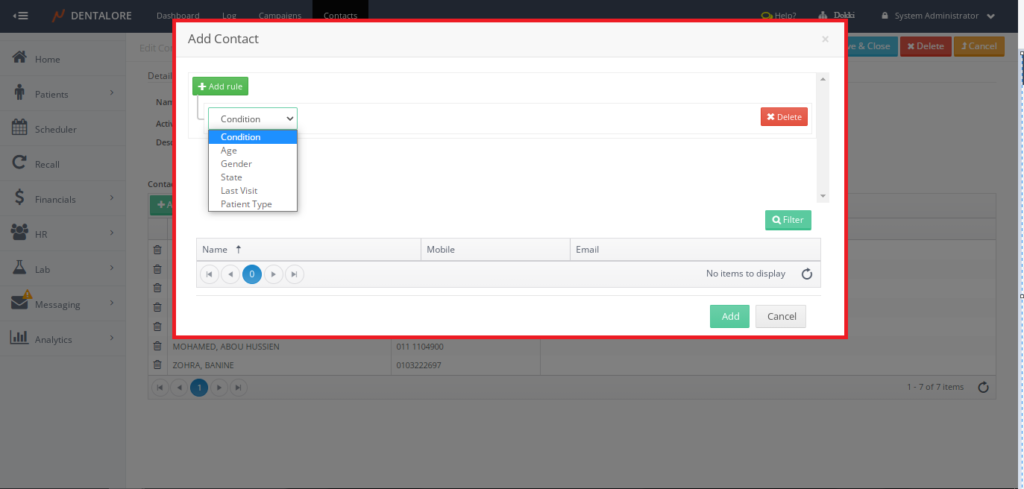
Note the following about the adding of contacts in to a group:
1- User has ability to add contacts according to multiple conditions (For Ex.: Female Patients whose age is greater than 40 yrs old); this example comprises 2 conditions: (Gender and Age).
2- Conditions enable user to set required operator for selected condition.
-> (For Ex.: Age Condition could be selected to be less than, equal, or greater than required value).- "Save&Close" button: Will save the new contact group and User directed to "Contacts" main page.
- "Cancel" button: Will not save the new contact group and User directed to "Contacts" main page.

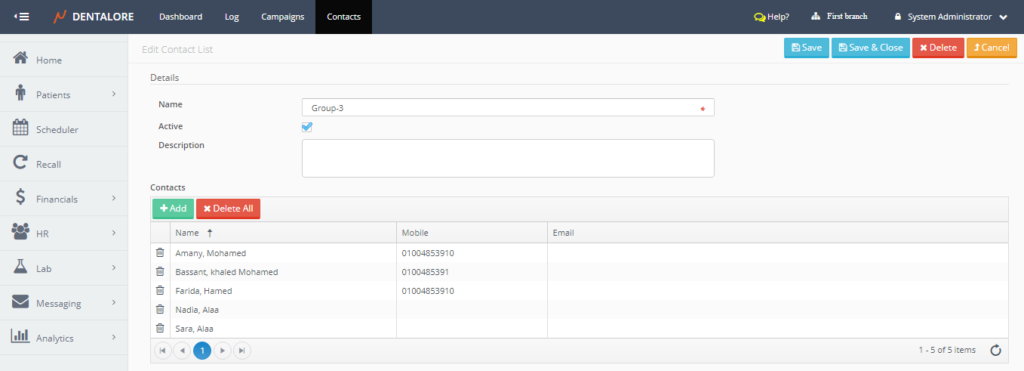
2) Update Contact Group
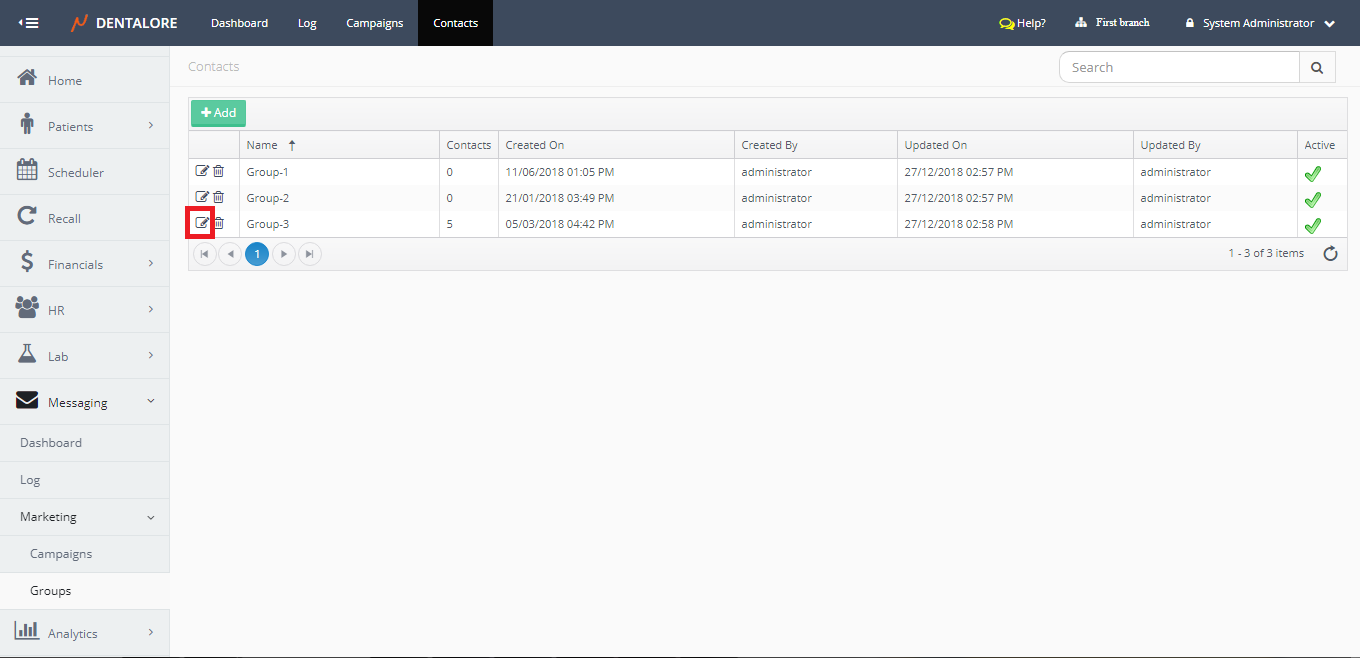
- Press the "View" icon beside required contact group.

- You will be directed to "Edit Contact List" Page in order to update any required field.

3) Delete Contact Group
There are 2 ways that user could delete a contact group:
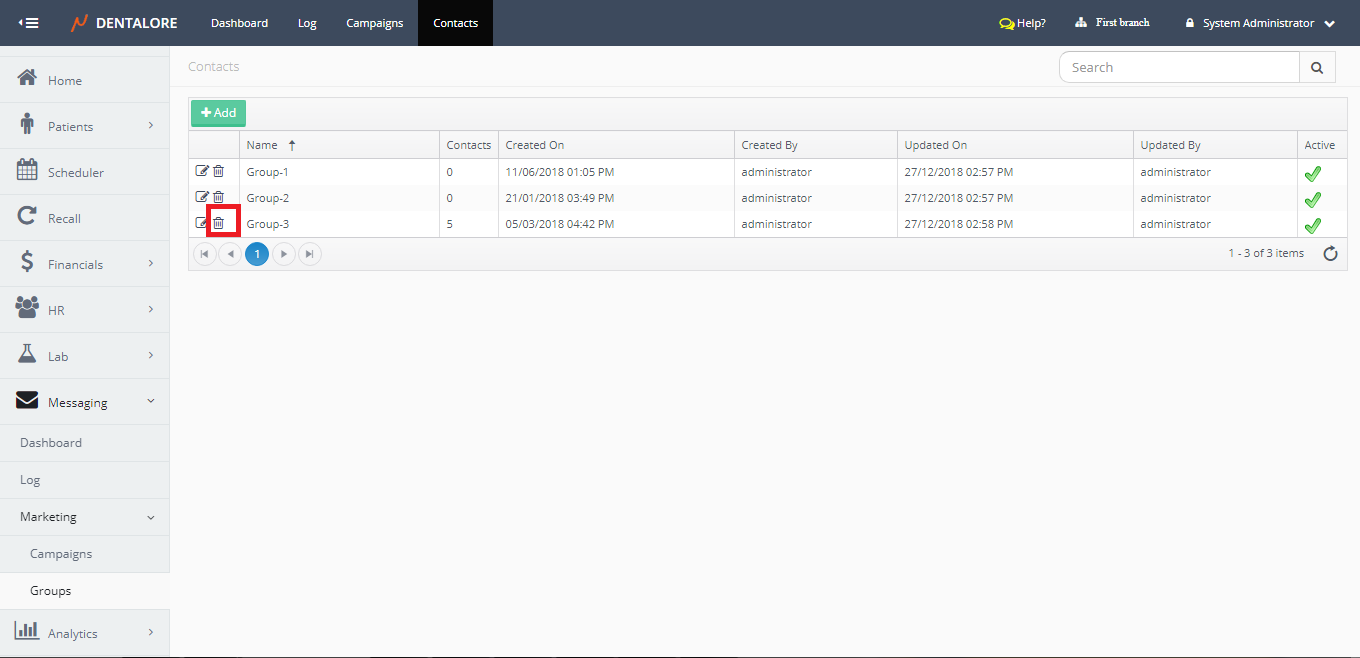
1- "Delete" icon in the 'Contacts' main page
- Press "Delete" icon beside required contact group.

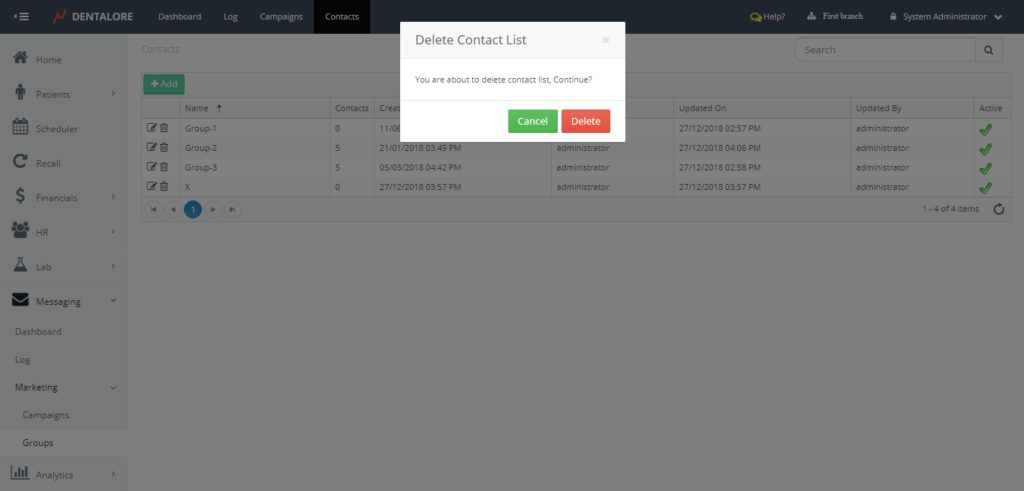
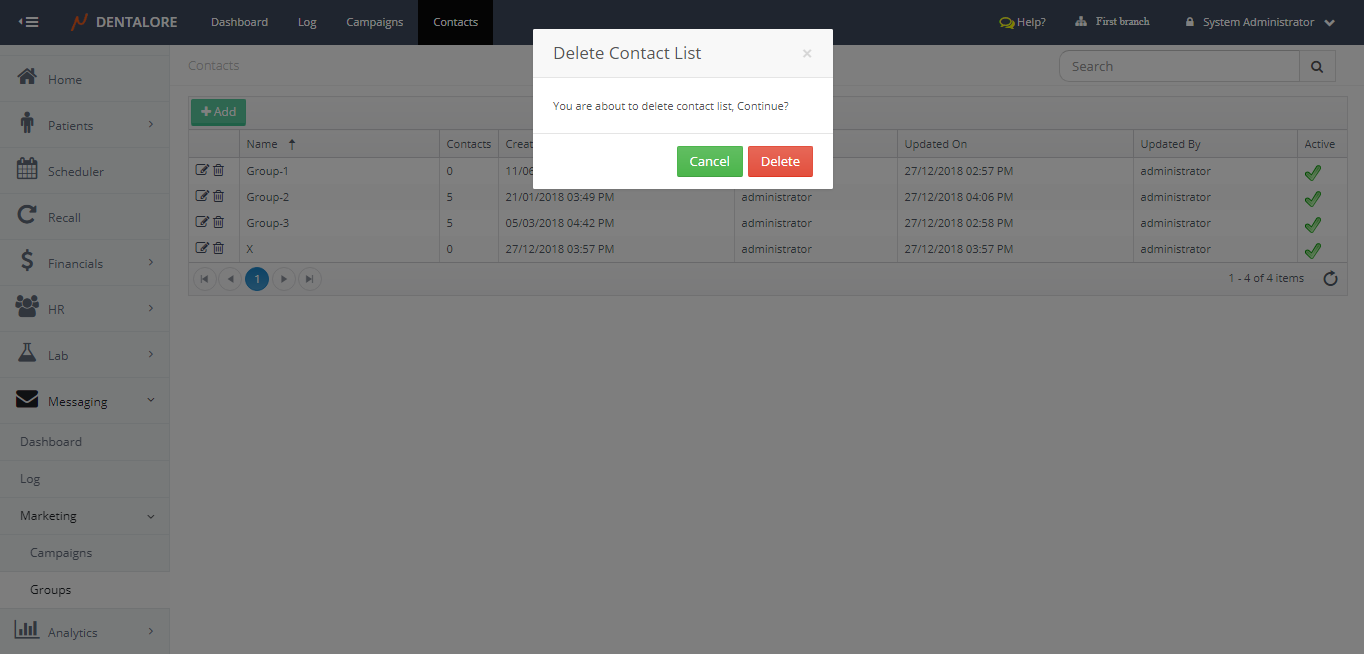
- Popup "Delete Contact List" opens to confirm or cancel the deletion of contact group.
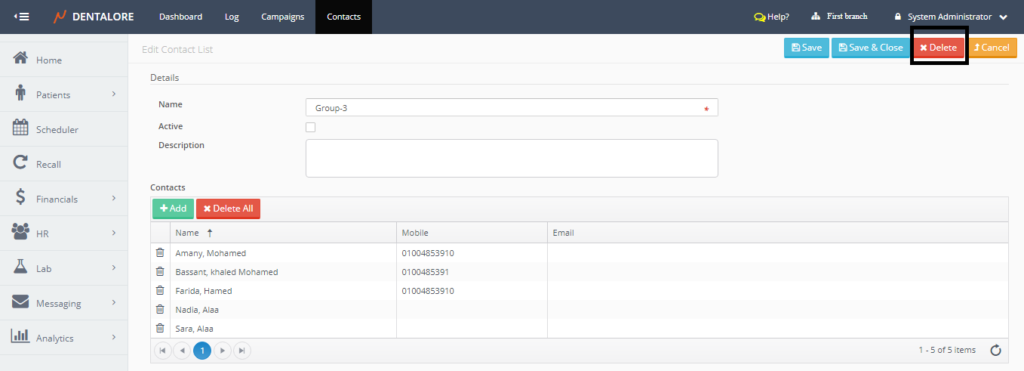
2- "Delete" button in 'Edit Contact List' page
- Press "View" icon beside required contact group.
- Press "Delete" button in 'Edit Contact List' page.
- Popup "Delete Contact List" opens to confirm or cancel the deletion of contact group.
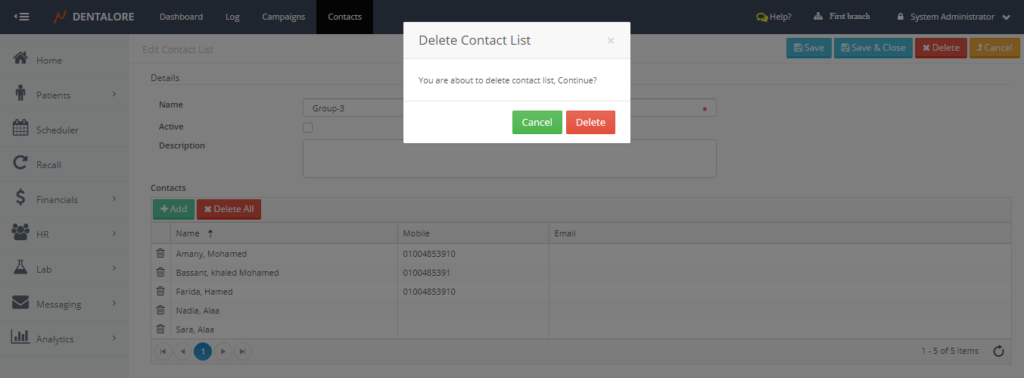
- "Cancel": Will not delete the contact group and it's still displayed in the 'Contacts' grid view.
- "Delete": Will delete the contact group and it will be removed from the 'Contacts' grid view.>> Note that in order to delete a contact group, it must be inactive.


Messaging Module in DentaLore offers user many functions that help him to send messages (SMS abd/or Email) to patients, among those functions is the ability to Create group of existing contacts (Patients) in order to send campaigns for them according to different conditions set by user.
Groups (Contacts) View
To Access the Contacts View, follow the following:
- Expand Messaging menu then select Marketing >> "Groups".
1) Add Contact Group
- Press "Add" button.
- You will be directed to new page "Add Contact List".
"Add Contact List" page contains the following fields:
- Name
- Is the contact group's name. And it's a mandatory field that user must fill-in to be able to add new group. - Active
- Is a check box that's ticked by default which means that this contact group could be used in Campaigns, while if the check box is not ticked then that means the group is inactive and can't be used. - Description
- Is field to add extra information about the contact group. - Control buttons:
- "Save" button: Will save the new contact group, User directed to "Edit Contact List" page and new section "Contacts" appears in order to add contacts.
-- In order to add contacts to the group; press "Add" button in 'Contacts' Grid View. Then a new Popup "Add Contact" opens to add contacts according to conditions of: (Age, Gender, State, Last Visit or Patient Type).
Note the following about the adding of contacts in to a group:
1- User has ability to add contacts according to multiple conditions (For Ex.: Female Patients whose age is greater than 40 yrs old); this example comprises 2 conditions: (Gender and Age).
2- Conditions enable user to set required operator for selected condition.
-> (For Ex.: Age Condition could be selected to be less than, equal, or greater than required value).- "Save&Close" button: Will save the new contact group and User directed to "Contacts" main page.
- "Cancel" button: Will not save the new contact group and User directed to "Contacts" main page.
2) Update Contact Group
- Press the "View" icon beside required contact group.
- You will be directed to "Edit Contact List" Page in order to update any required field.
3) Delete Contact Group
There are 2 ways that user could delete a contact group:
1- "Delete" icon in the 'Contacts' main page
- Press "Delete" icon beside required contact group.
- Popup "Delete Contact List" opens to confirm or cancel the deletion of contact group.
2- "Delete" button in 'Edit Contact List' page
- Press "View" icon beside required contact group.
- Press "Delete" button in 'Edit Contact List' page.
- Popup "Delete Contact List" opens to confirm or cancel the deletion of contact group.
- "Cancel": Will not delete the contact group and it's still displayed in the 'Contacts' grid view.
- "Delete": Will delete the contact group and it will be removed from the 'Contacts' grid view.>> Note that in order to delete a contact group, it must be inactive.