
Video protocol is almost used by Intraoral cameras in order to capture images for patient’s while working on their tooth.
To Configure a new device uses a Video Protocol, follow the following:
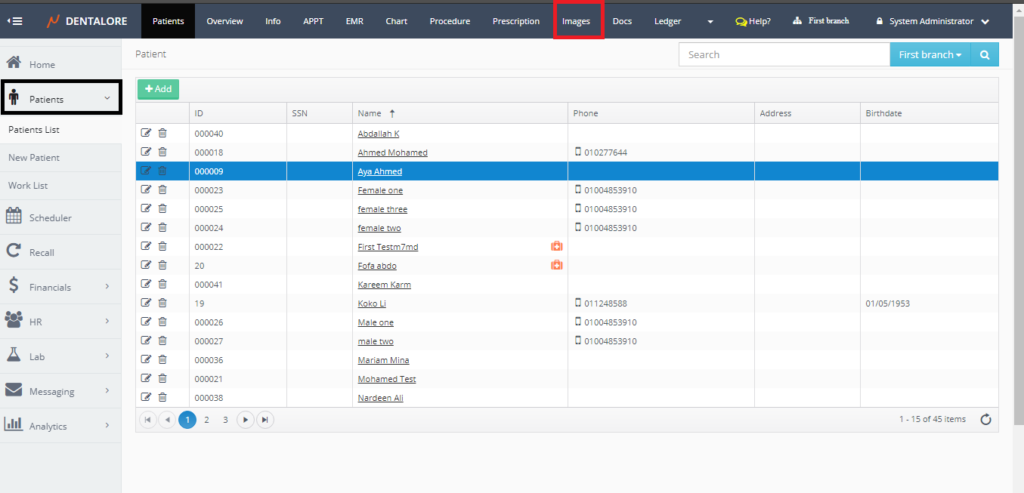
- Select Patient list from Patients module.
- Select required patient from patient list and Press “Images” module.
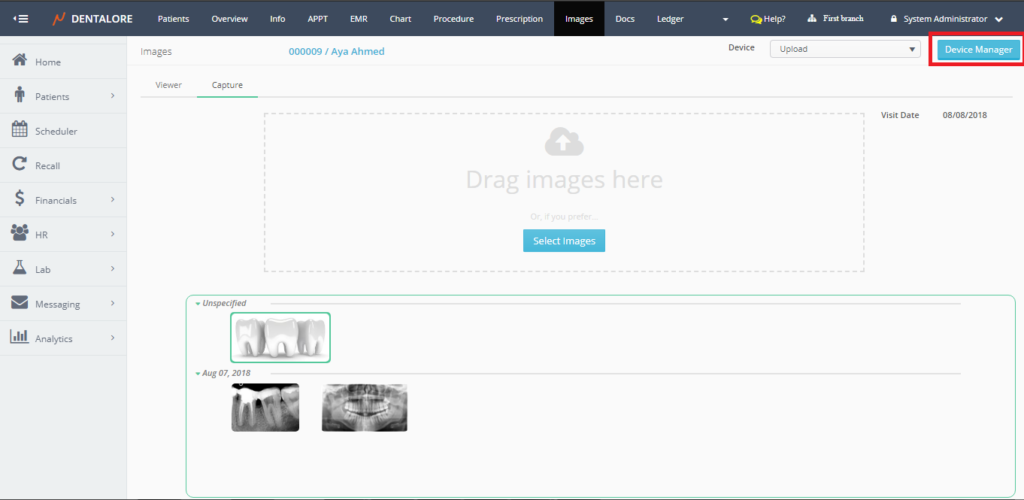
- Images tab opens by default on the Viewer tab, Select the “Capture” tab.
- From the “Capture” tab, Press the “Device Manager” button.
- Press “Add” button.
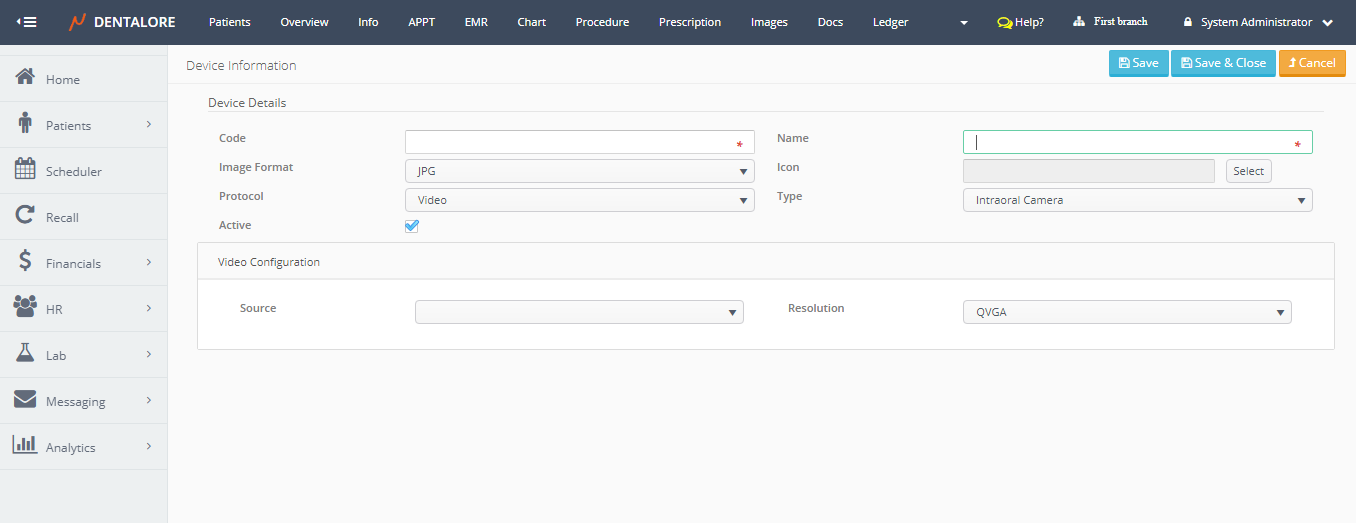
- New page “Device Information” opens.

- Insert the mandatory fields (Code and Name), the format of image as required. and Select the protocol type to be (Video).
Note that: Protocol “Video” is selected by default. And the protocol configuration section titled “Video Configuration” that displays the configurations related to video protocol. - Video configuration settings are:
— Source: Which is a drop down list contains the name of camera sources defined on your computer. So in order to integrate a specific device (i.e.: Intraoral Camera) using video protocol then the source (driver) of this device must be defined (installed) on the used computer.
— Resolution: Is the quality of captured image. It’s a drop down menu that contains the available qualities (Resolutions) that could be used, which are: (QVGA, VGA, HD, and Full HD). Default selection is: QVGA.

>> The “Save” button will save the new created device and keep the user on the same page.
>> The “Save & Close” button will save the new created device and the user will be directed to the main “Devices” main page that contains the devices grid view.
>> The “Cancel” button will cancel the creation of new device and user directed to the main “Devices” page. - Configure settings and then press “Save” button.

>> Note that the “Protocol” field can’t be edited after saving. - Press “Save & Close” to check that device is successfully listed in the “Devices” grid view.


Capture Images using new created device
- Press “Capture” to back to the “Capture” view in the Images module.

- From the “Capture” view, open the “Device” drop down menu, Check that the new created device exist and then select it.
Note that: The Default selection of “Device” drop down menu is the “Upload”.

- Once the new device is selected then a live streaming of what is done by the device in the patient’s mouth is displayed on the screen. User could capture images and freeze when needed.

The view for devices using the Video protocol contains 2 main buttons: - — Freeze button: That once pressed the live streaming freezes on a specific image and then user can press “Capture” button to save the image.

>> User Press the “Freeze” button to freeze the live stream, then press the same button which is called “Unfreeze” now to continue the live. - — Capture button: That the user could capture an image during the live streaming with or without freezing.

>> User captures an image and image saved in the images section related to today’s visit.


