
In order to upload image for a selected patient from the Images module, follow the following:
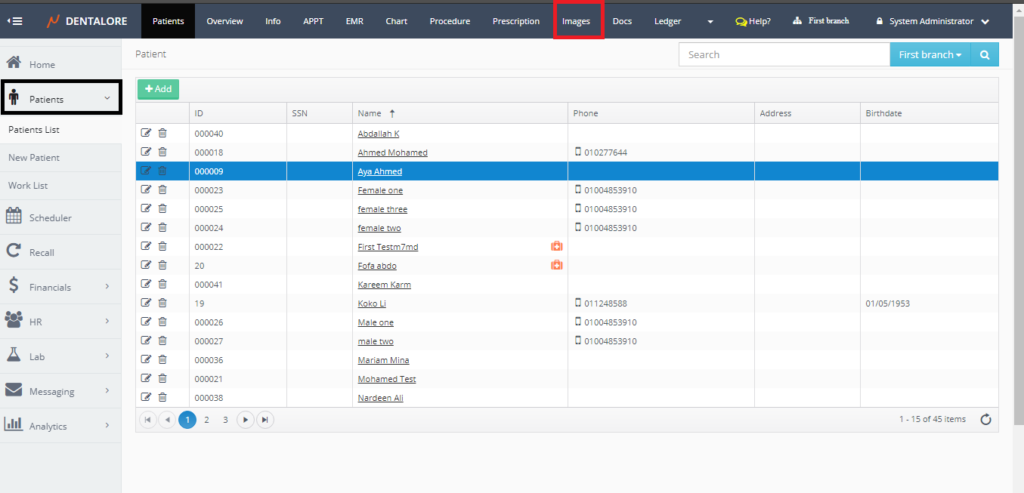
- Select Patient list from Patients module.
- Select required patient from patient list and Press “Images” module.
- Images tab opens by default on the Viewer tab, Select the “Capture” tab.
- Capture tab by default opens on the device selection “Upload” that enables user to select image form his computer and upload it to be attached in the patient’s file.
- Uploading Images could be done by 2 methods:
1- Drag and Drop

2- Select Images from your computer then upload it.


- Popup opens to Select the required image, then press “Open” button.

>> Note that: you have the ability to upload single or Multiple images at the same time.

- Popup closes and the selected image starts to be uploaded and upload progress is shown in the Progress bar, image successfully uploaded and listed in the Images section.

Note that the uploaded image is listed under a sub title “Unspecified” that means image is not related to a specific visit for the patient, so all uploaded images that is not related to a visit will be displayed under “Unspecified” category. - In order to make the uploaded images related to the patient’s visit, User must create a visit (an appointment) for the patient then upload the required images. That’s why Dentalore system displays a “Create Appointment” button from the Images module to make it direct and more easy for user to add visit for patient.
– For more details about creating an appointment, Check: Create Appointment from Images module - Add visit for the selected patient, then the date of today’s visit (Appointment) displayed instead of the sticky note.

- Repeat the steps of uploading an image, Press the “select Image” button, select required images and press “open” in the popup and upload a new image.
- After upload is done, images will be listed in the Images section under visit’s date.

So that each images related to a visit will be displayed under the date of this visit, and the user has the ability to expand and collapse required images under specific visit. - To Collapse and Expand specific images section, press on the name of this section.

User collapses the “Unspecified” section and require only to display the images of specific visit. - Finally, User can perform any editing on the uploaded images from the “Viewer” tab. For more details on the viewer tab, Check: Images Viewer.


