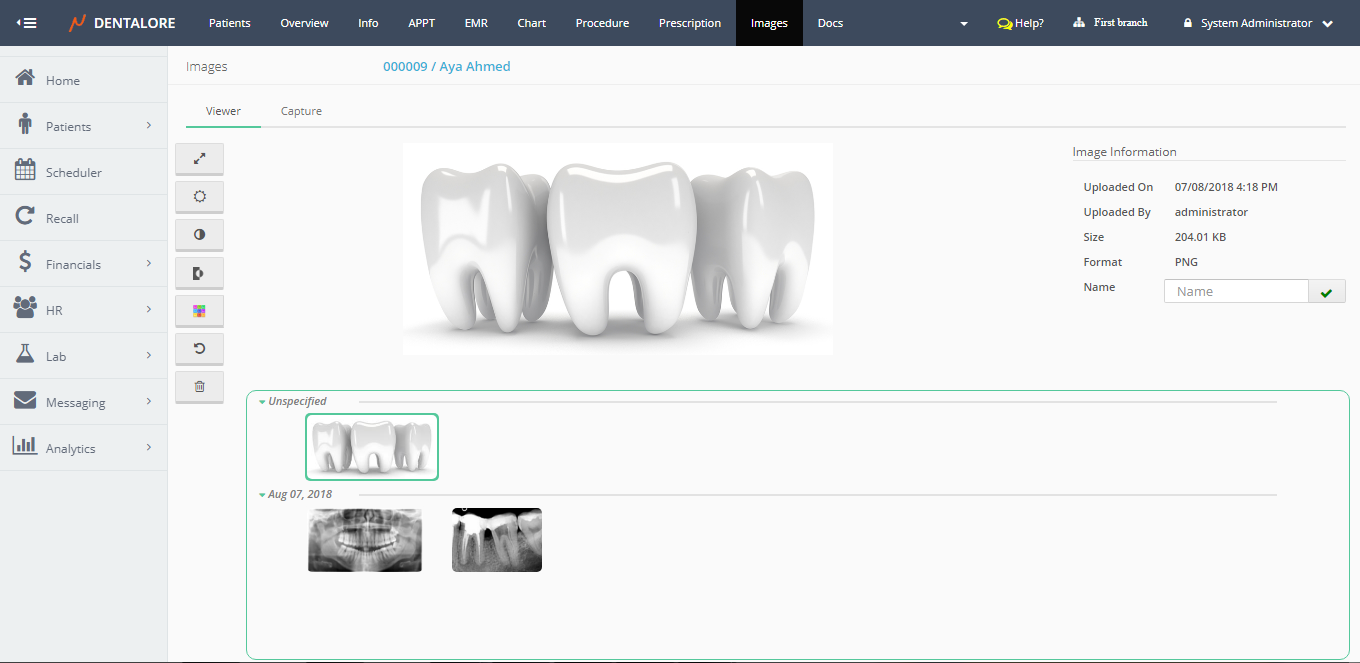
The viewer tab in Images module enables user to view any of the added images for the selected patient, and perform different functions and processing on the images.
In order to view an image for a selected patient from the Images module, follow the following:
- Select Patient list from Patients module.
- Select required patient from patient list and Press “Images” module.
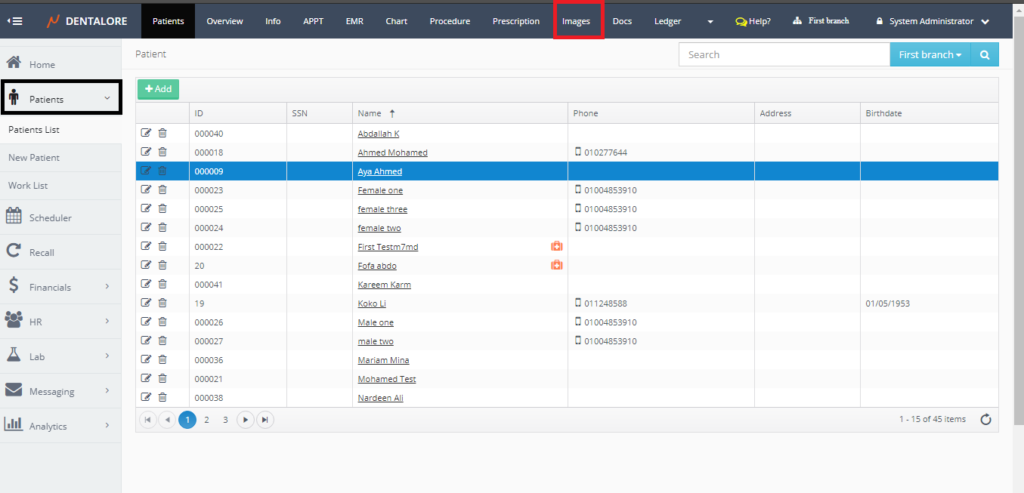
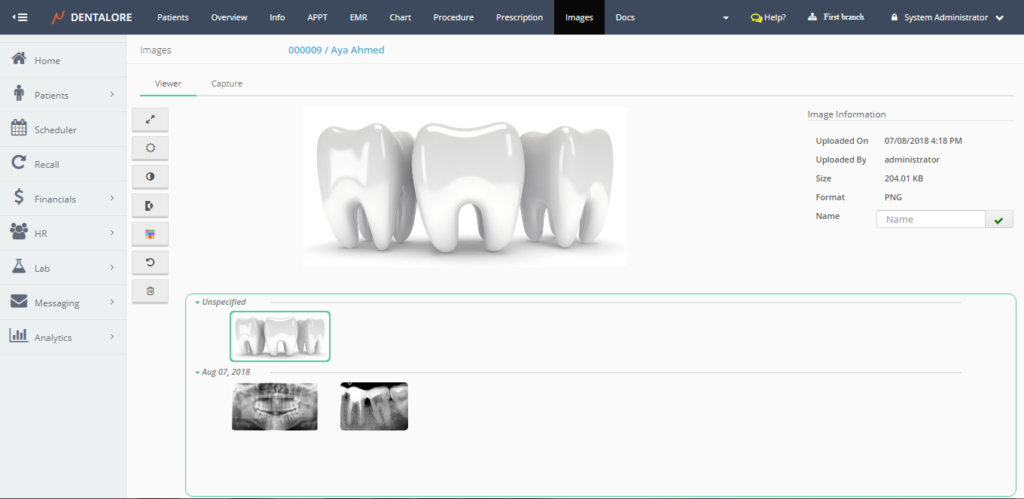
- Images tab opens by default on the Viewer tab. By default the “Viewer” tab displays the first image in the images section.
- Note that: the images displayed in the Images module, Could be displayed also from “Images” tab in the Chart Module.
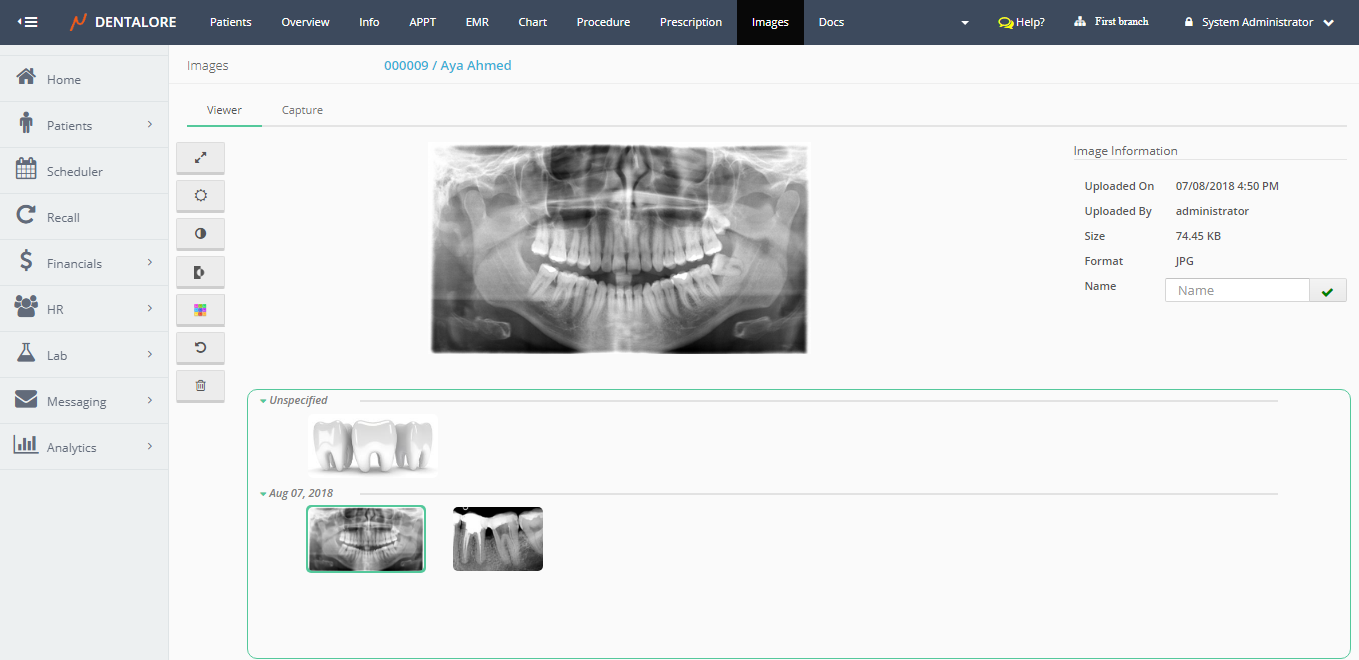
- Select required image by clicking on that image in the Images section, it will directly displayed with it’s information on the right side.
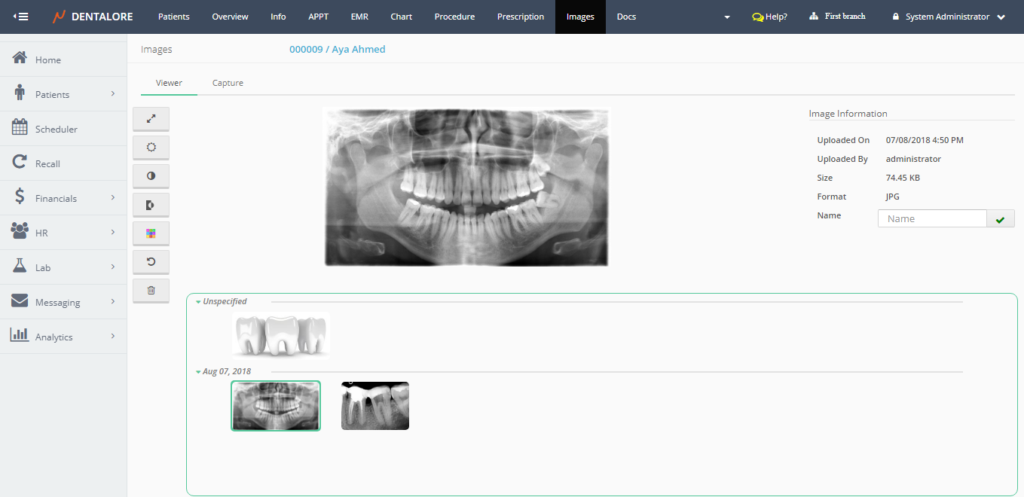
- The “Image Information” section includes the following info:
— Uploaded on: Is the date when the selected displayed image has uploaded or captured on.
— Uploaded By: Is the name of user who uploaded or captured the selected displayed image.
— Size: Is the size of displayed image.
— Format: Is the format name of the displayed image, that could be: (PNG, JPEG, BMP, and GIF).
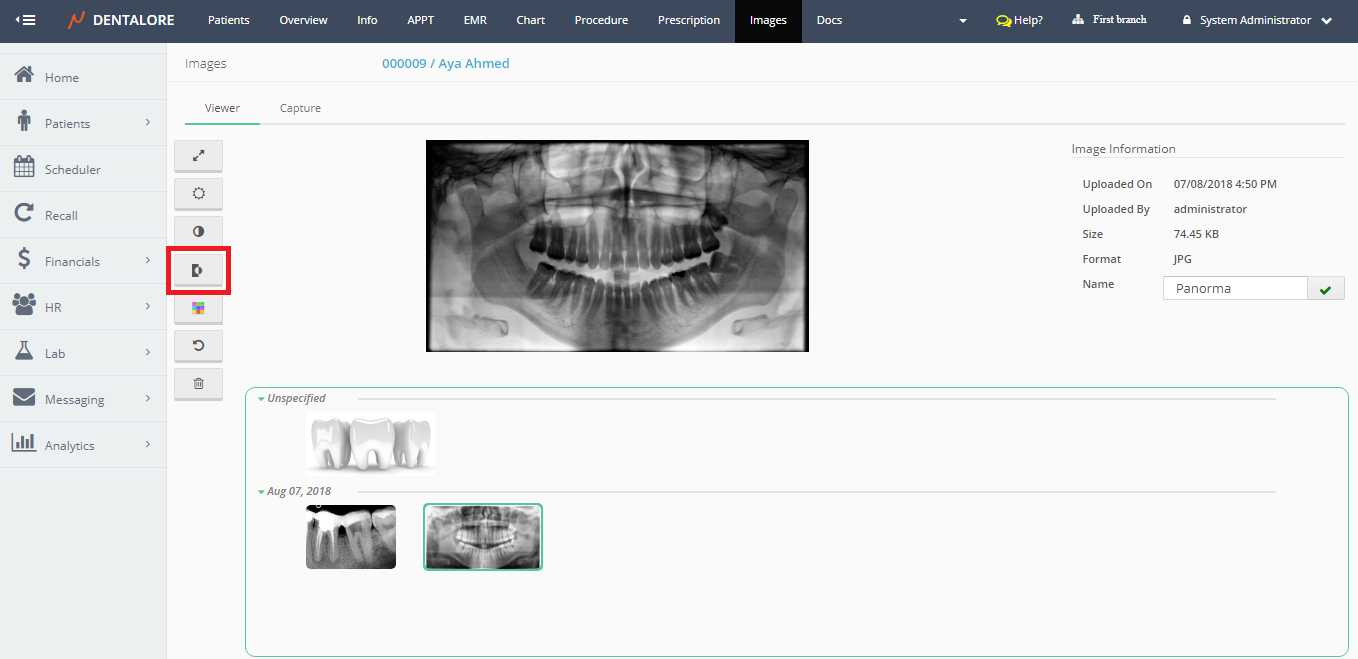
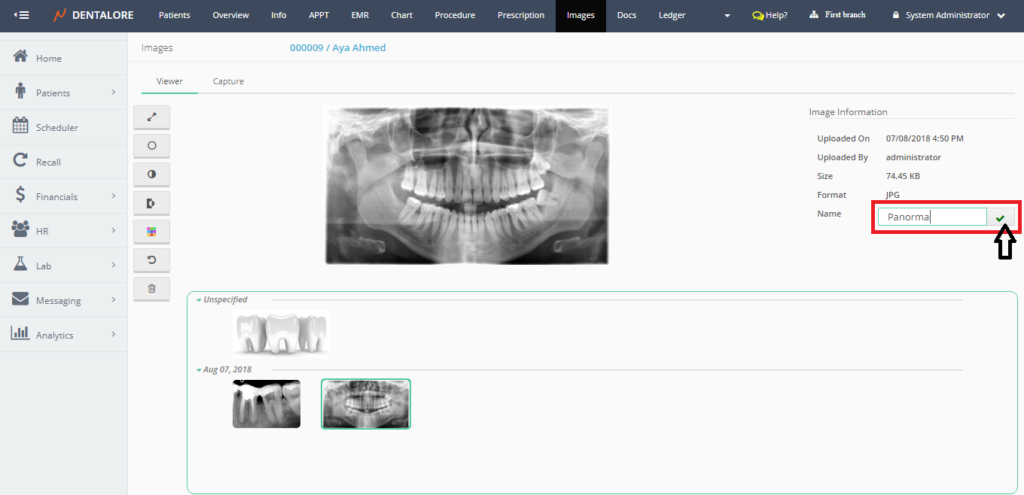
— Name: Is the only field that user could edit it to name the selected displayed image as required.
Note: In order to rename an image, just type (Insert) the required name in the “Name” field and press on the “Right” mark.
- For the available options to be applied on image, User could:
1- Full Screen for the displayed image to be displayed in a larger size on whole screen.
>> In order to exist this full screen, Press “Esc” button in your Keyboard.
2- Brightness button which enables user to manage the overall brightness and darkness of the displayed image.

>> “Brightness” is controlled from a scale bar to increase and decrease it, as user increases the scale that means image gets more brighter.
3- Contrast button which enables user to manage the difference in brightness between objects in the displayed image.
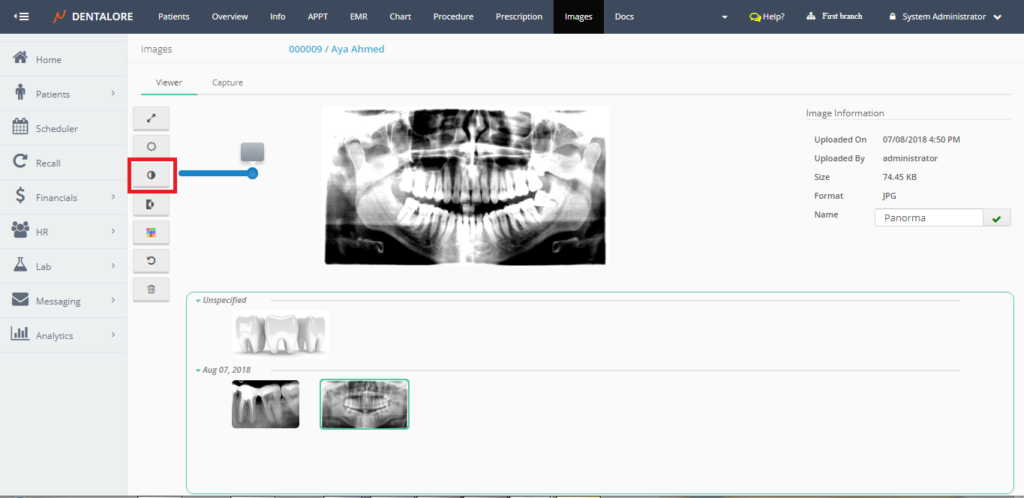
>> “Contrast” is controlled from a scale bar to increase and decrease it.
4- Invert button which inverts the colors of the displayed image (White black and Black white).

>> Once “Invert” button is pressed, the colors of displayed image inverted.
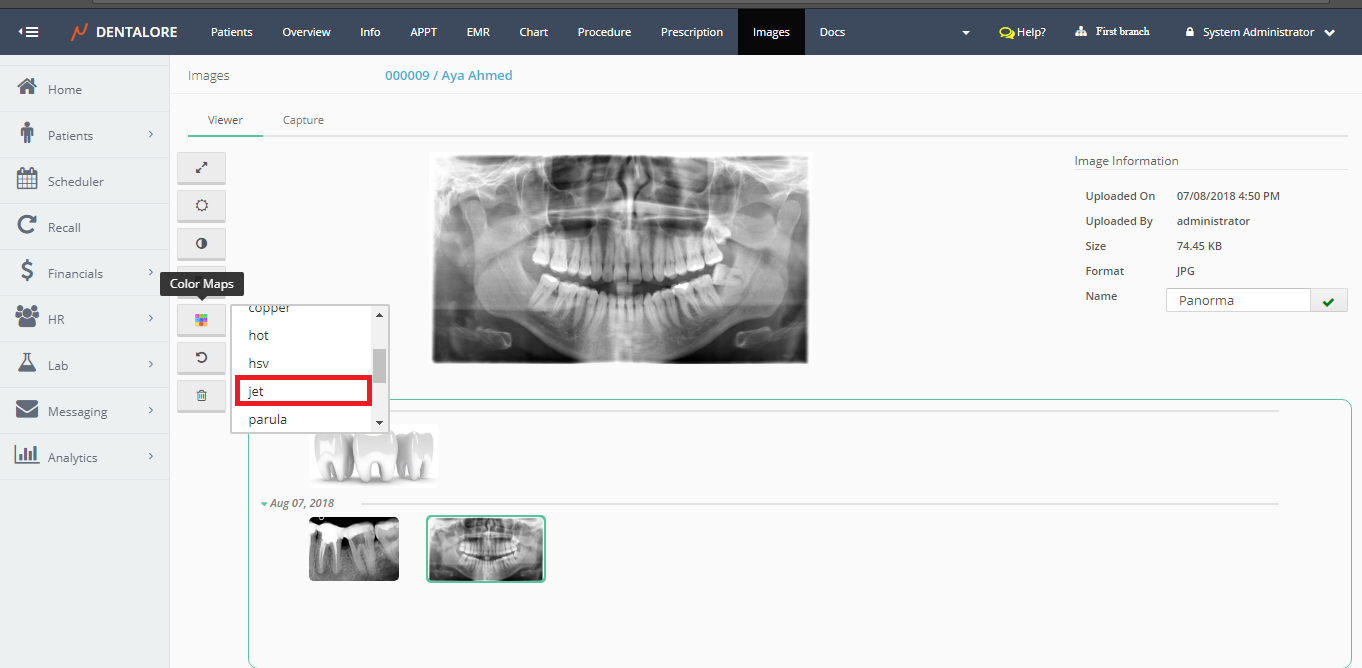
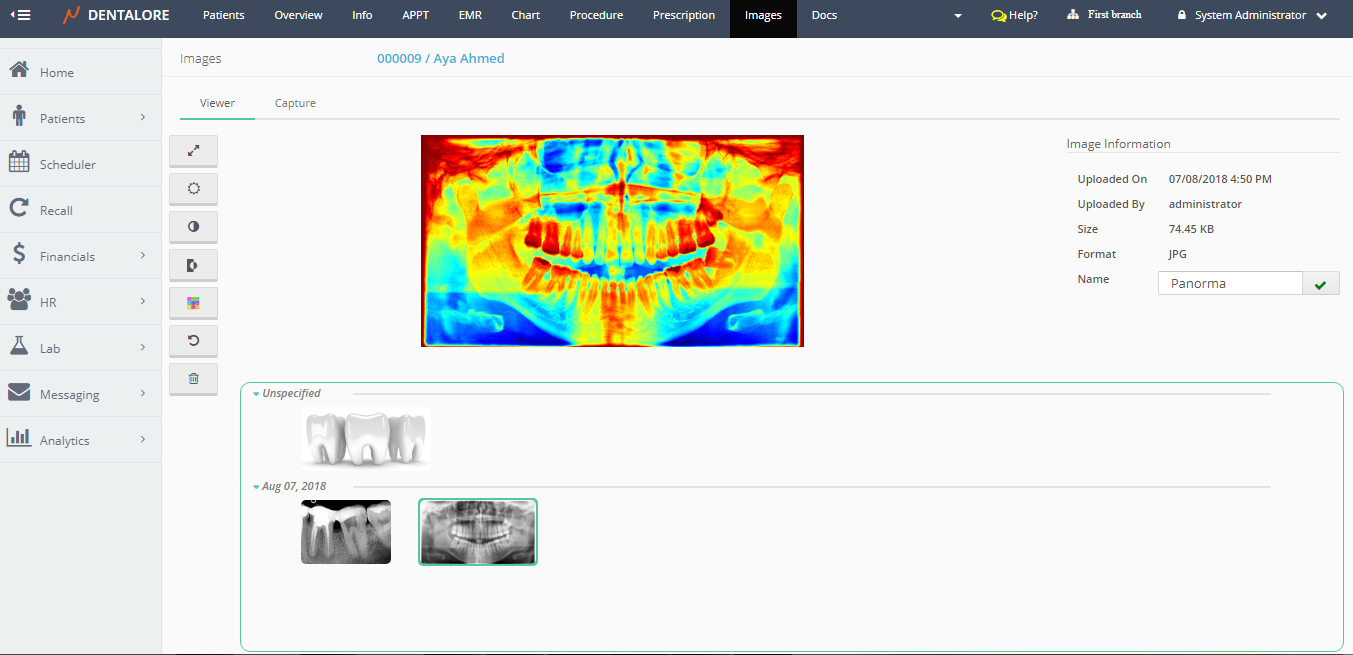
5- Color Map button gives the user many options to display image using different color maps, as: (Autumn, Bone, Cool, Copper, Hot, Hsv, Jet, Parupla, Pink, Spring, Summer, and Winter).
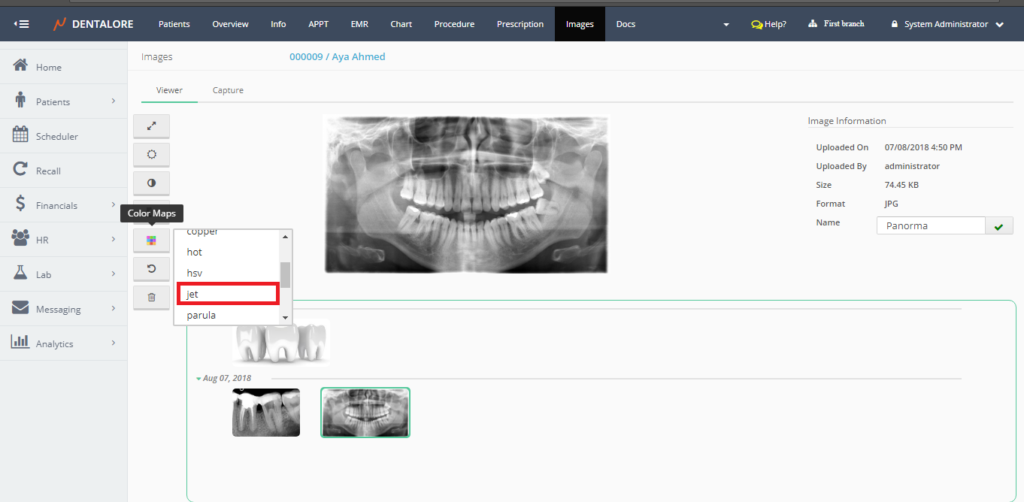
>> Once the “Color Map” button pressed, a drop down menu opens that contains all of the defined color maps displayed to select the required one to display the image in.

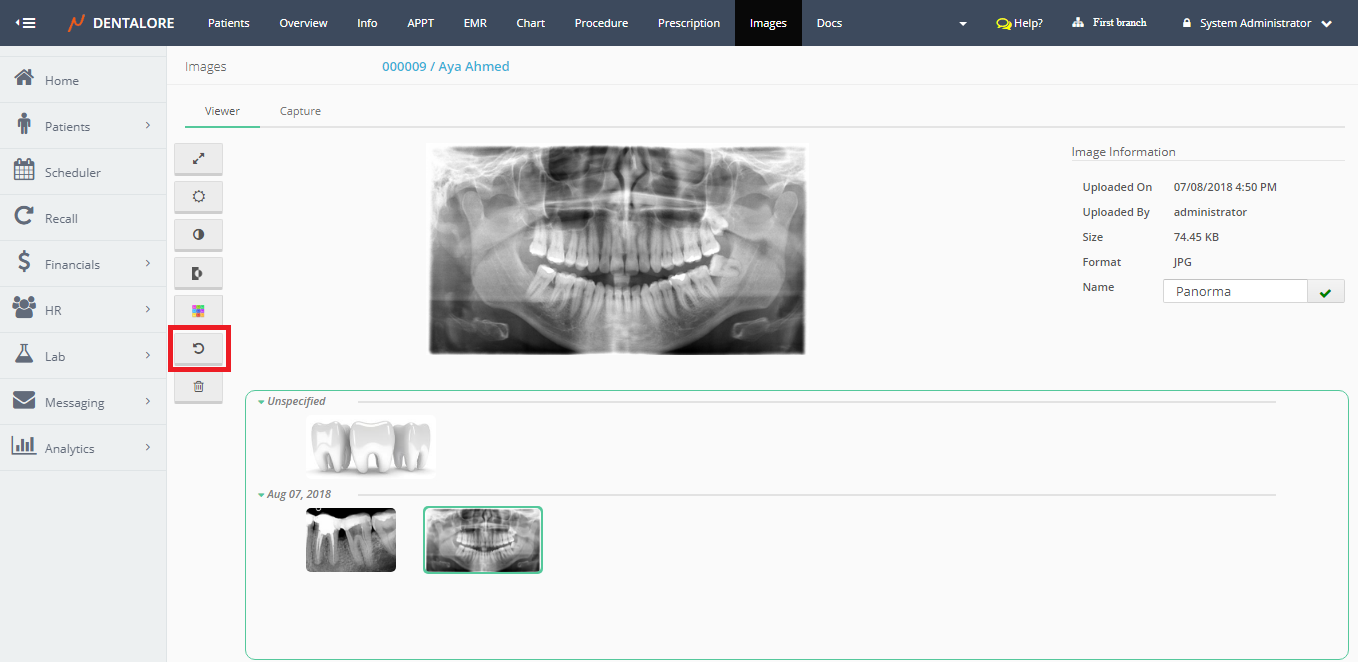
6- Reset button to reset image to it’s original state.
>> Once “Reset” button pressed, the original image displayed.
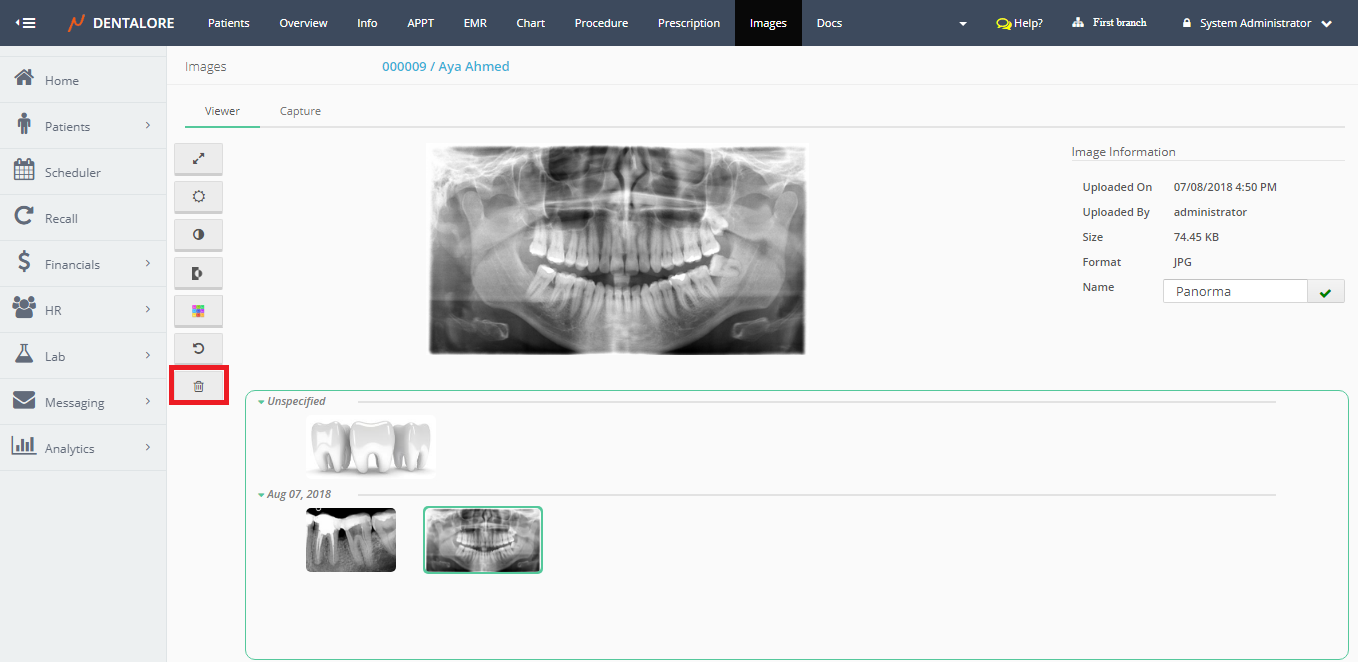
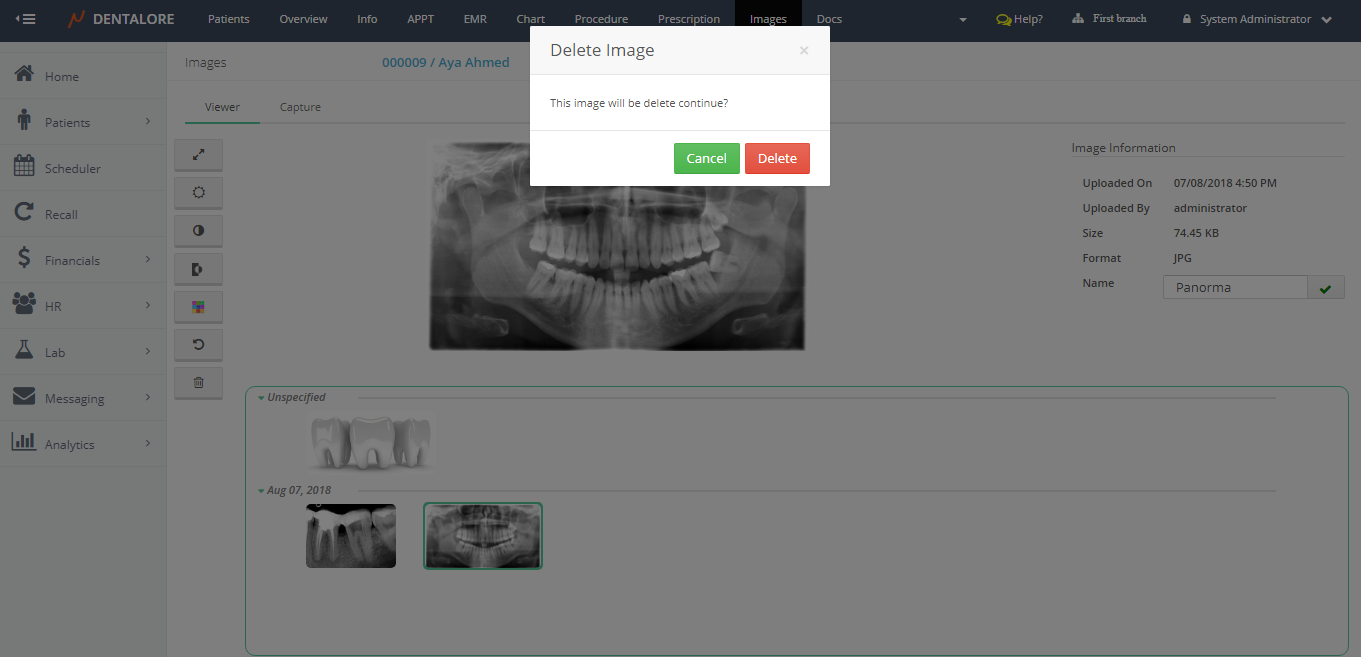
7- Delete button to delete the selected image, that once a pressed a “Delete Image” Popup opens to confirm the delete or cancel delete of image through 2 buttons (Cancel) and (Delete). If user press (Delete) image will directly deleted and if press (Cancel) image still exist in the images section.