
Scheduler Module enables user to add, update and delete patient's appointments and reserved slots.
Configure a Reserved Slot
1) Add Reserved Slot
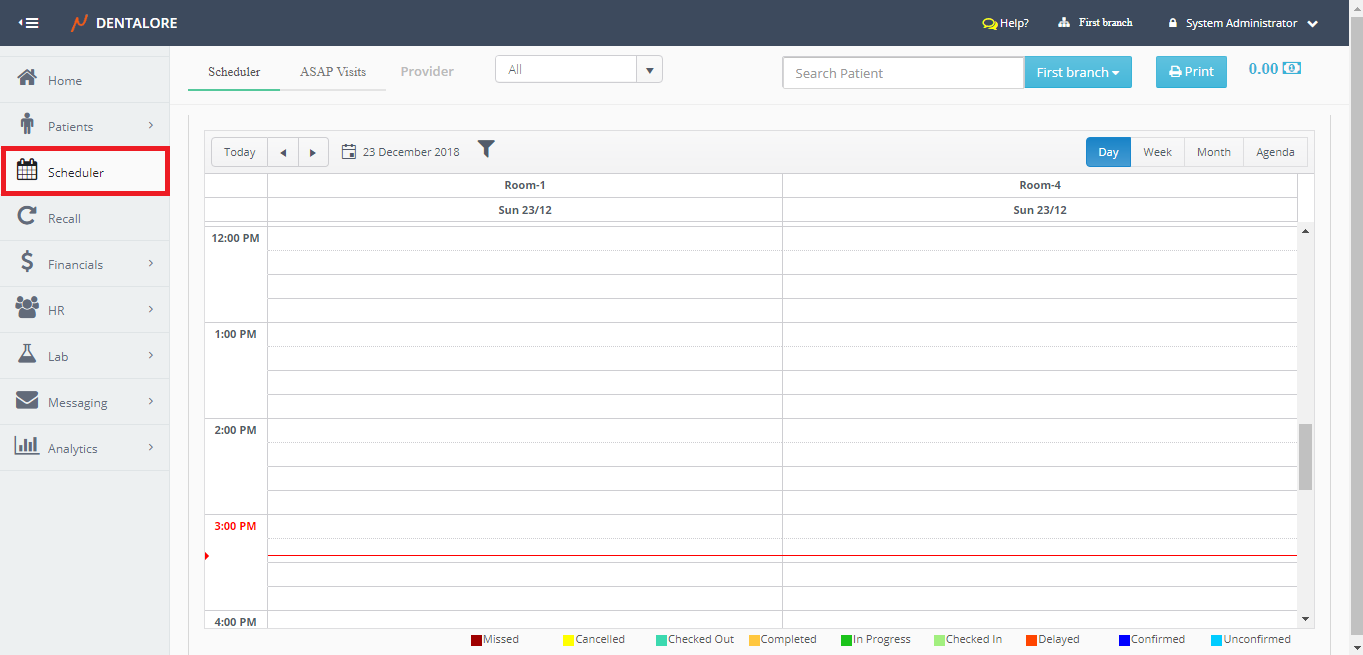
- Select Scheduler Module.
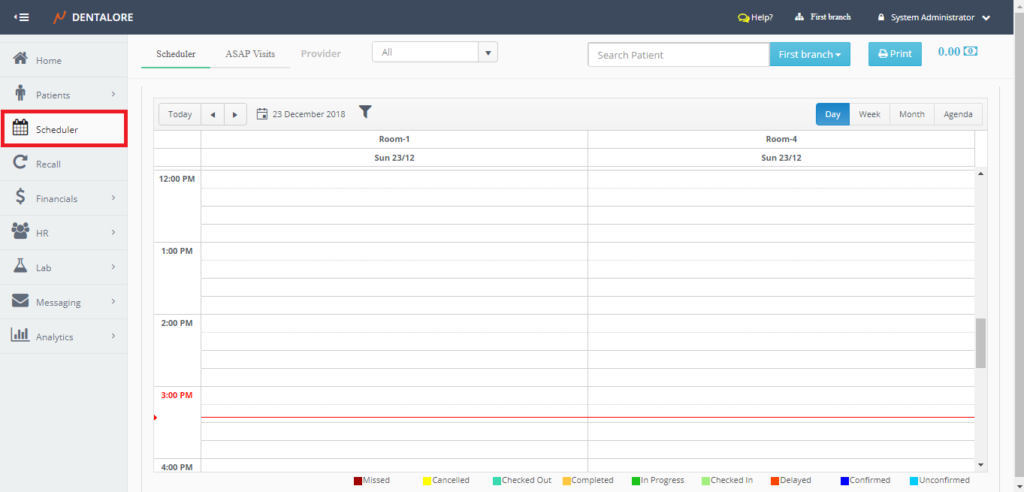
- Right Click on required slot on the scheduler; Short cut menu opens that contains 2 options: (New Appointment and Reserves Slot).
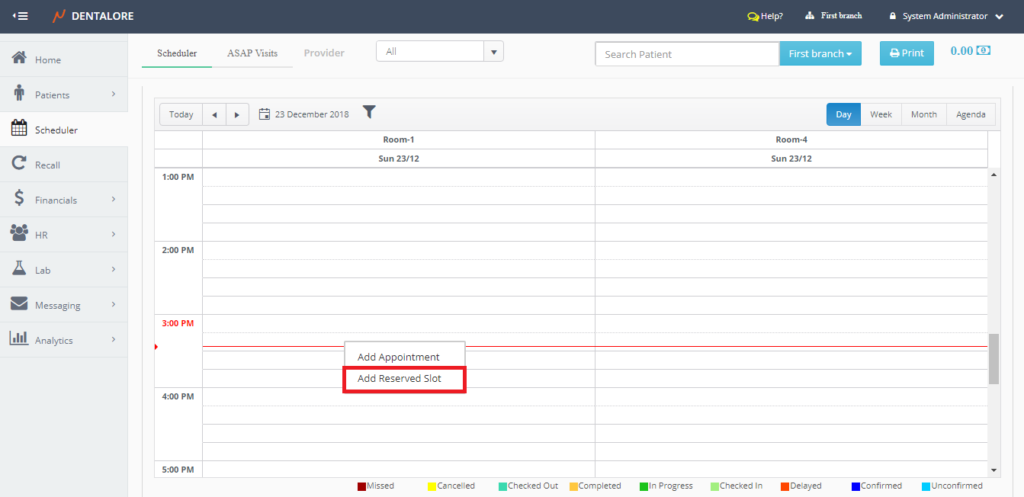
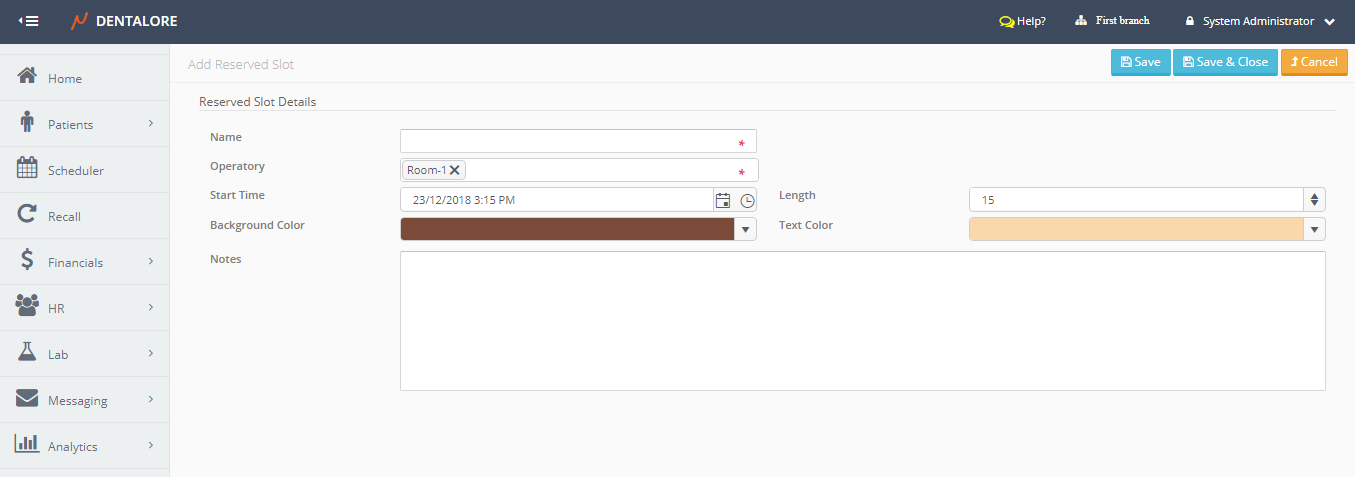
- Select Reserved slot then; You will be directed to new page "Add Reserved Slot".

- Fields of the "Add Reserved Slot" page are as follow:
- Name
-- Is a text field that enables user to type a name for the reserved slot. It's a mandatory field that user must fill-in to be able to save the reserved slot.
- Operatory
-- Is a Multi-selection box that enables user to select the required operatory/ies to add the reserved slot in. Default Selection is: Selected Oeratory from scheduler.
- Start Time
-- Is the time when the reserved slot starts & by default it displays the current time.
- Length
-- Is the length that the reserved slot takes.
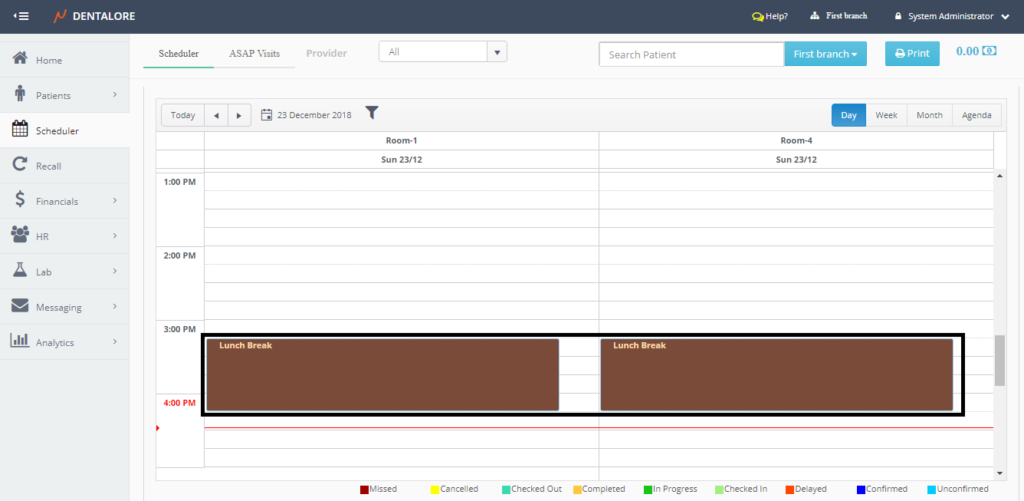
- Background Color
-- Is the color of background of the reserved slot card on the scheduler.
- Text Color
-- Is the color of text written on the reserved slot card on the scheduler.
- Notes
-- filed to write any required notes on the reserved slot. - Fill-in required fields then save the reserved slot.


2) Edit Reserved Slot
User has the ability to edit the reserved slot by 2 methods:
- Double click on the reserved slot card, or
- Right click on the reserved slot card
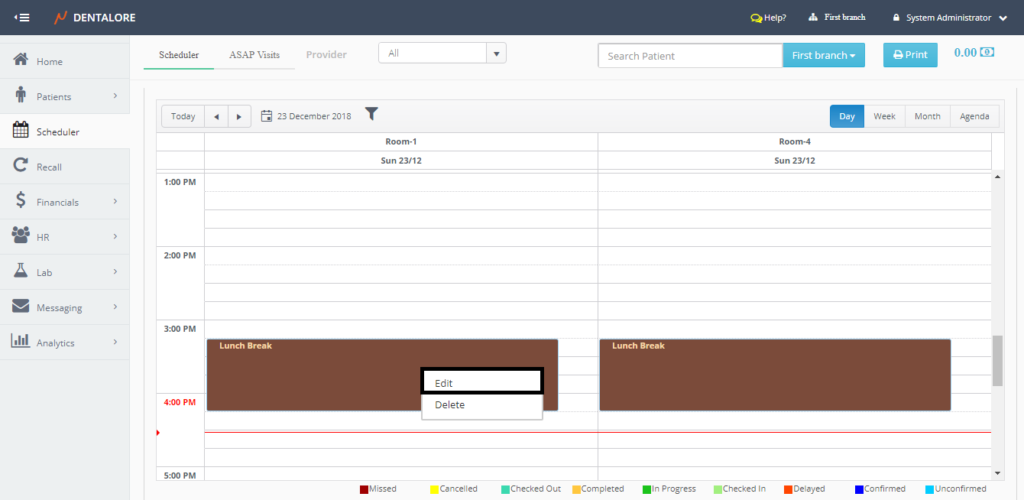
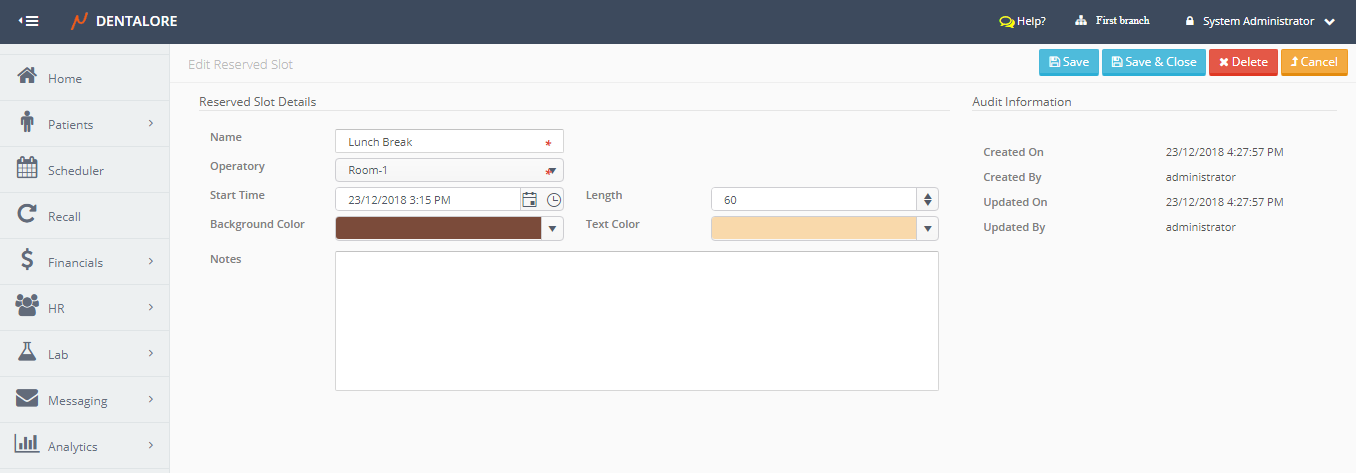
- You will be directed to "Edit Reserved Slot" Page in order to update any of the required fields.


3) Delete Reserved Slot
User has the ability to delete the reserved slot by 2 methods:
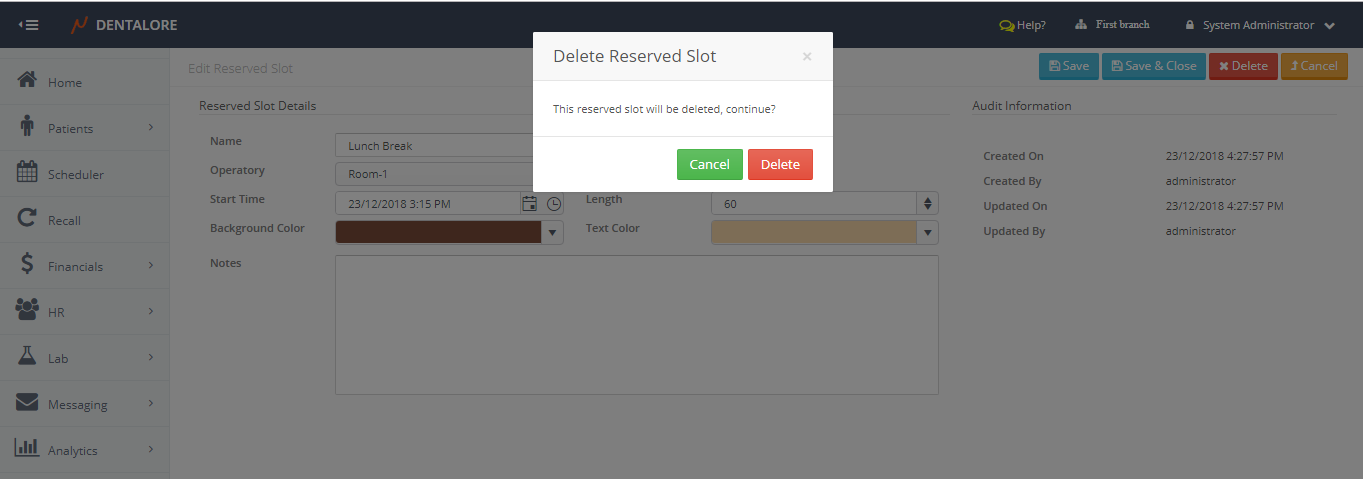
1- Double click on the reserved slot card.
- You will be directed to "Edit Reserved Slot" Page.
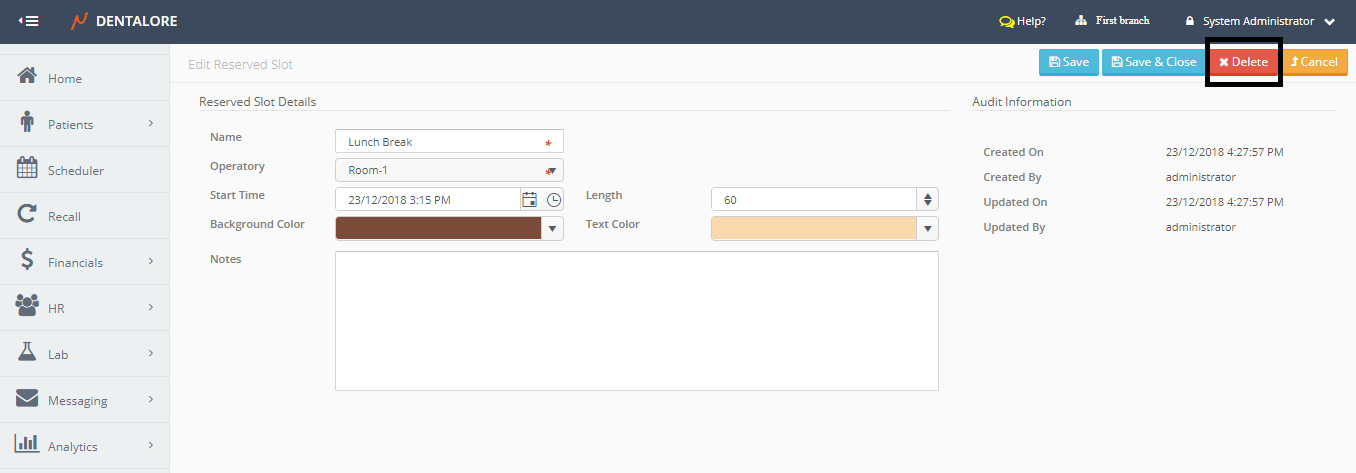
- Press "Delete" button.

- Popup "Delete Reserved Slot" Opens.

2- Right click on the reserved slot card
- Select "Delete".
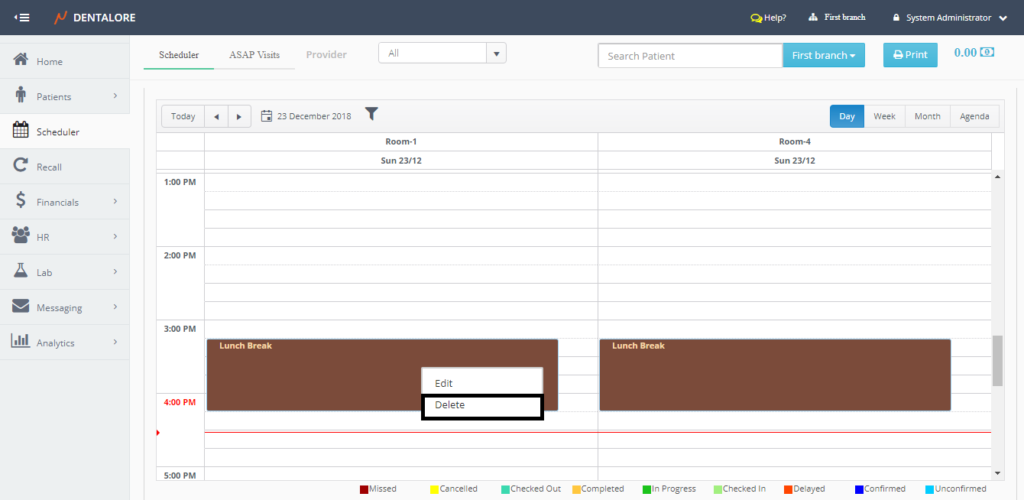
- Popup "Delete Reserved Slot" Opens.
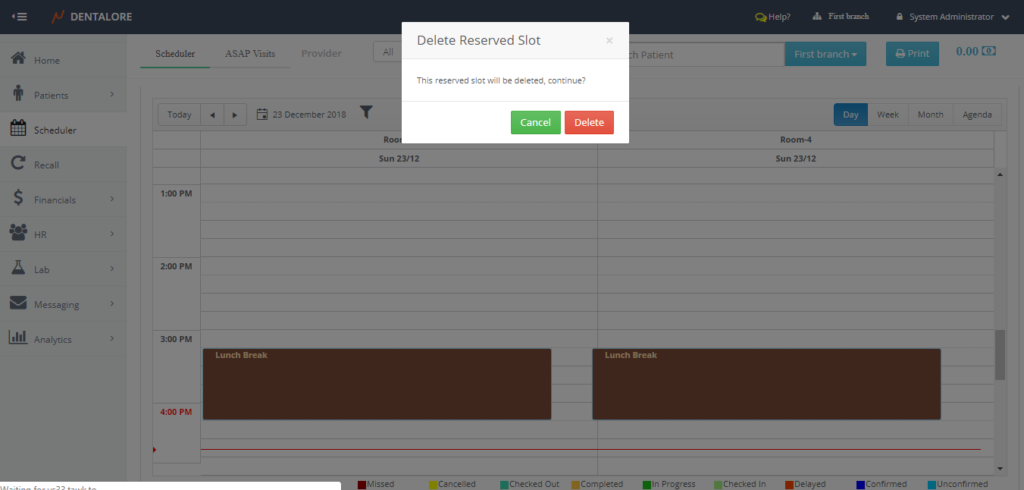

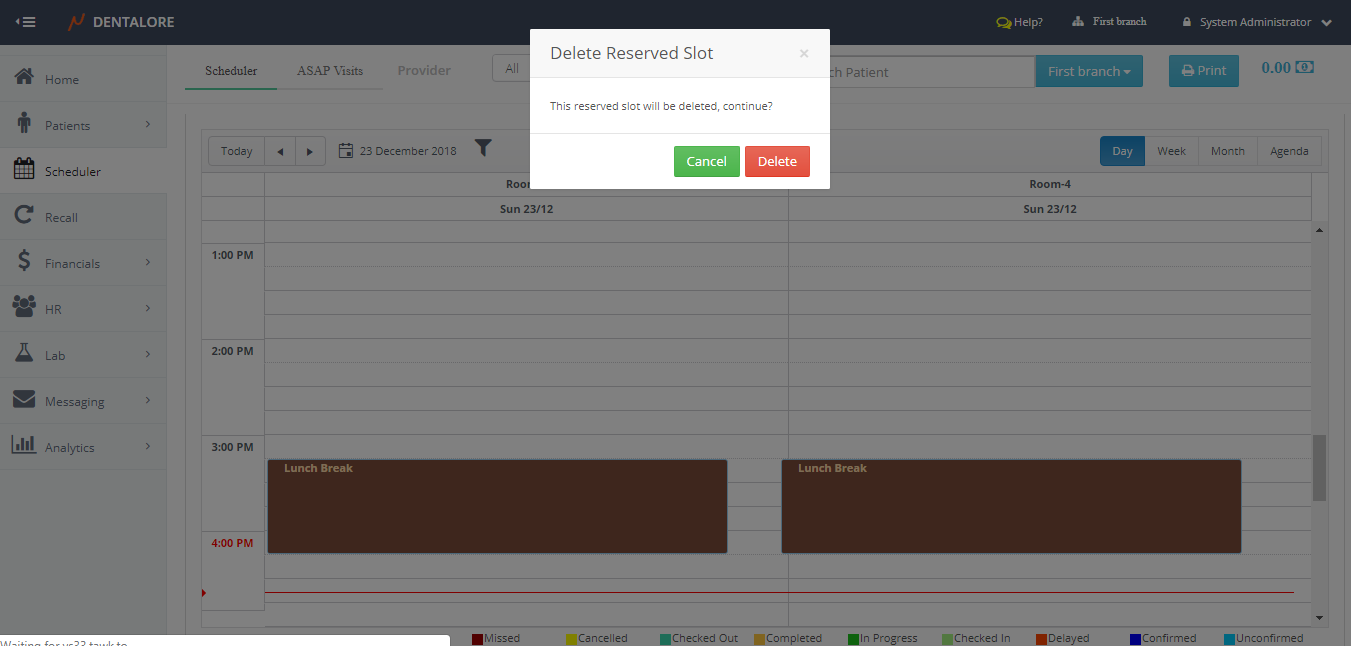
If user press "Cancel" then the reserved slot will not be deleted and still displayed on scheduler.
If user press "Delete" then directly the reserved slot will be deleted and removed from scheduler.