Pre-Authorization is created from the "Treatment Plans" tab in Chart View then it's listed in the "Claims" view. Pre-Authorization should be created before a claim created to selected procedure/s.
To Manage Pre-Authorization Transaction, Follow the following:
- Expand "Patients" menu and Select "Patient List".
- Select any of the existing patients (Who has Insurance and a Pre-Authorization is created for him/her) and then Select "Claims".
>> For more information about creating Pre-Authorization, Check: Create Pre-Authorization to Insurance Company.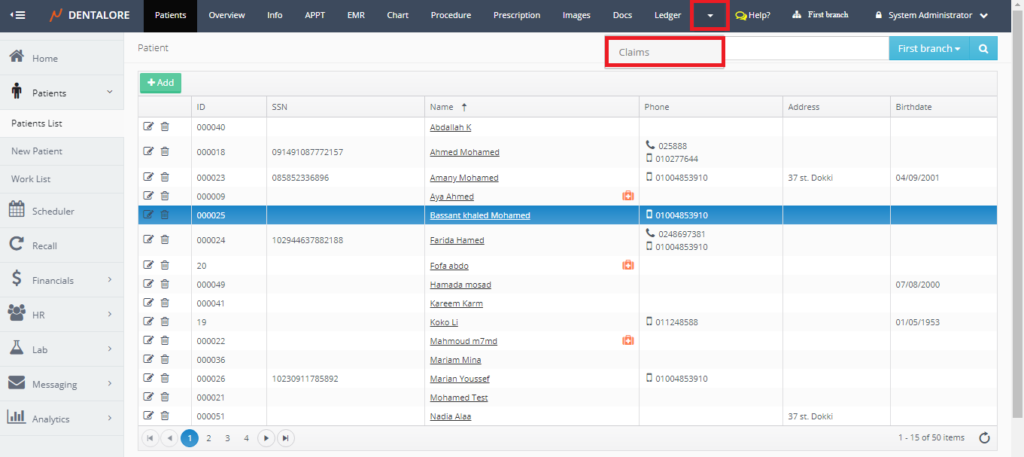
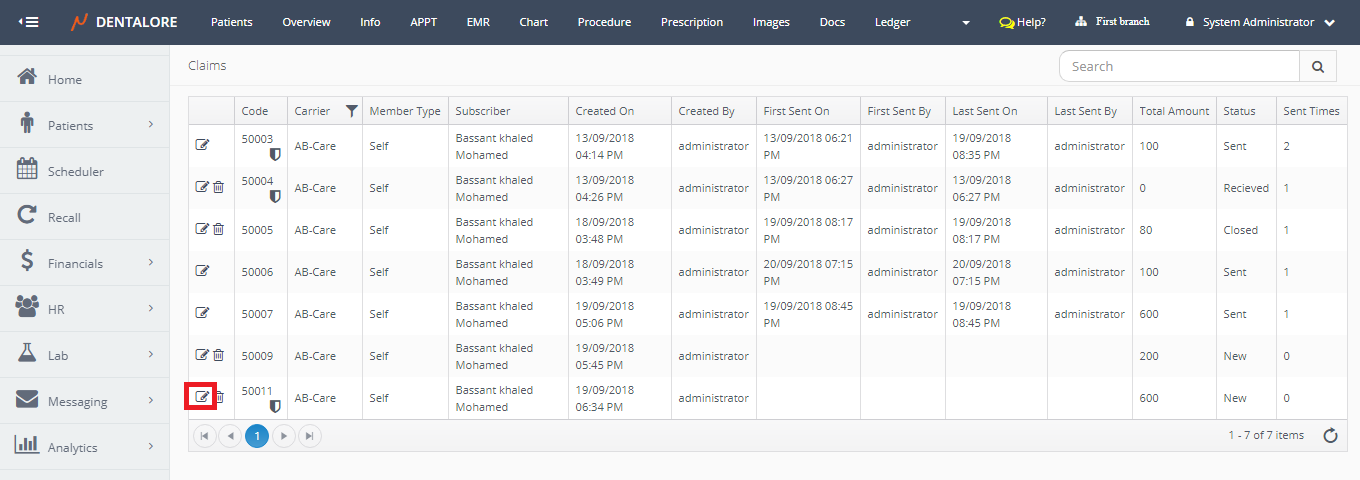
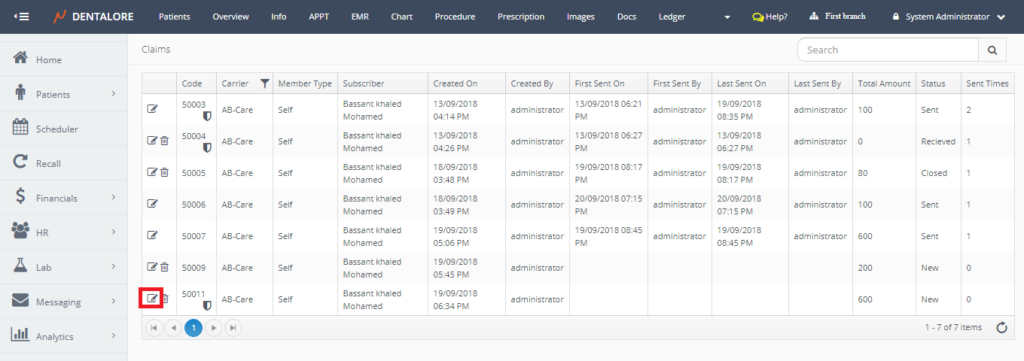
- Press the "View" icon for the required Pre-Authorization transaction.
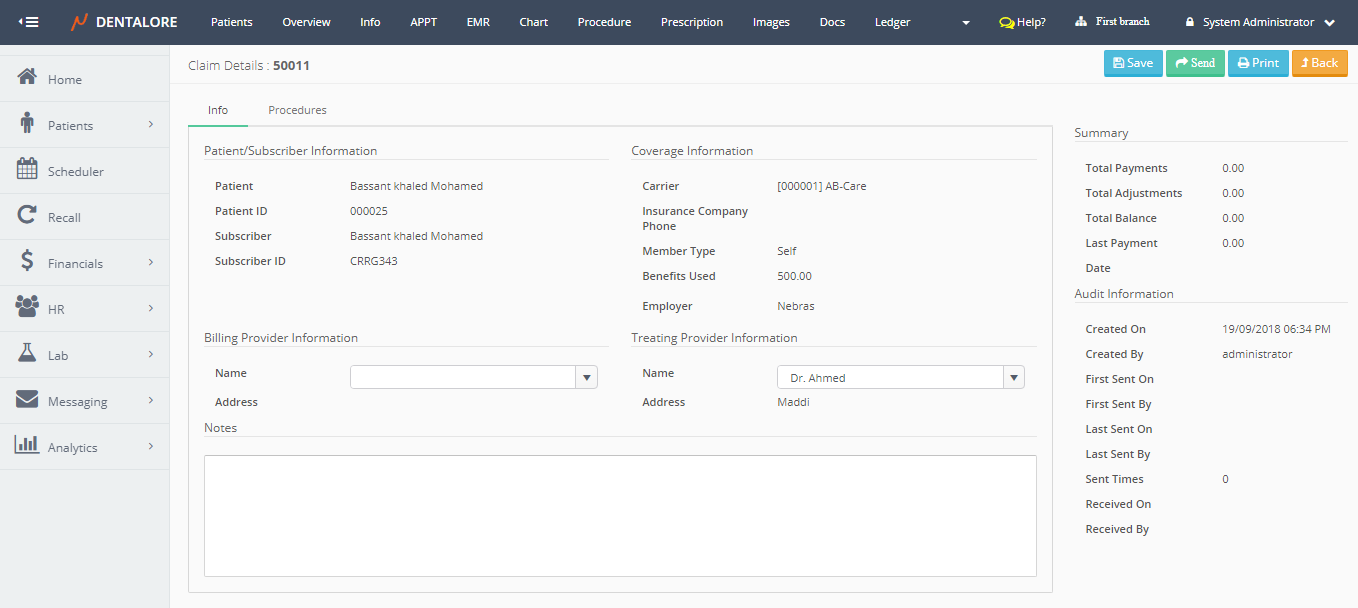
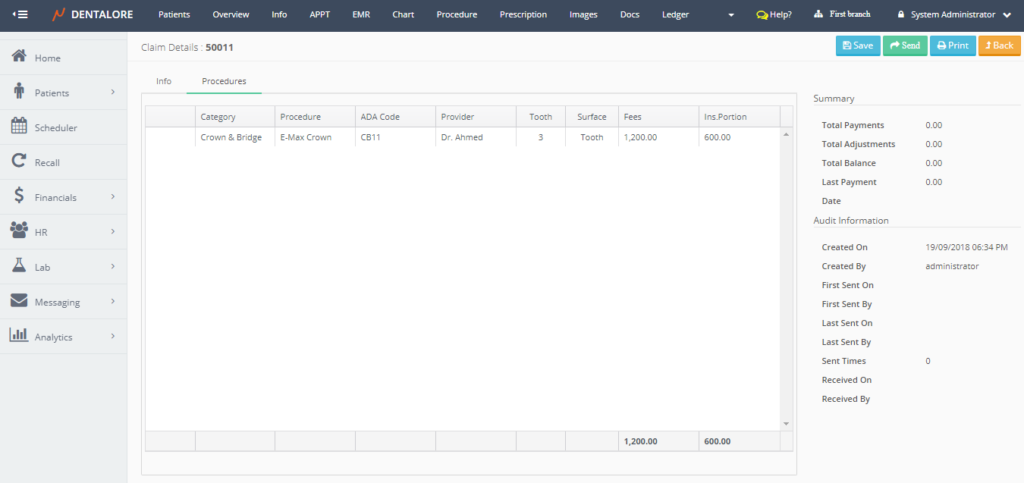
- New Page "Claim Details" open that includes 2 tabs (Info and Procedures) to manage the Pre-Authorization request.

- The "Info" tab contains the same data as for a claim transaction and for more details about fields in Info tab, check: Claim Details.
- The "Procedures" tab displays the procedure/s included in the selected pre-authorization transaction in which user could accept or reject each procedure.
- Note that: User could only accept or reject procedures in the pre-authorization after sending it.
- Press "Send" button.
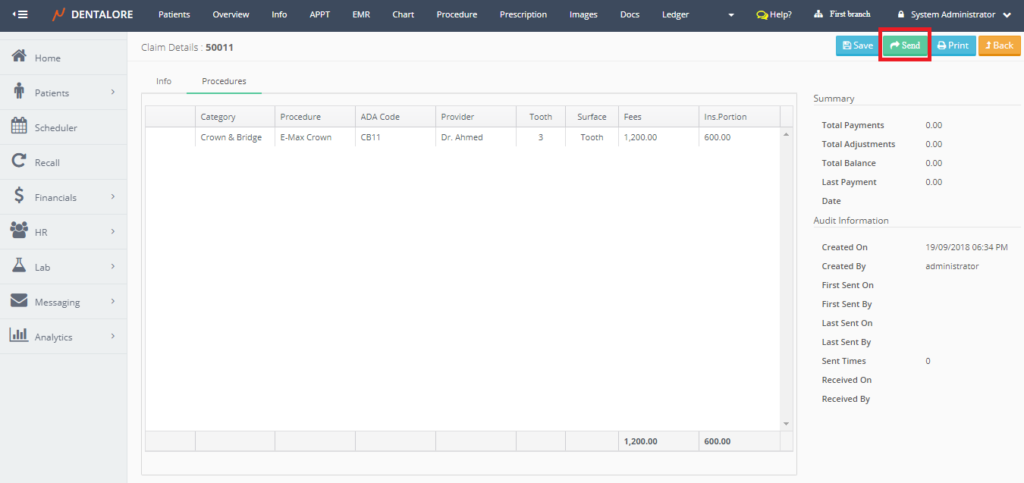
- Once "Send" button is pressed, then the following occurs:
-- Name of "Send" button changes to "Resend".
-- Count of (Sent Times) increase by 1.
-- 2 Symbols appear beside the procedure/s in the "Procedures" tab which means:
-> Right Mark: Means that this procedure in the pre-authorization is accepted and insurance agreed to pay for.
-> Wrong Mark: Means that this procedure in the pre-authorization is rejected and insurance will not pay for this procedure and the amount of money that was supposed to be paid by insurance will be added on the patient's part (Balance).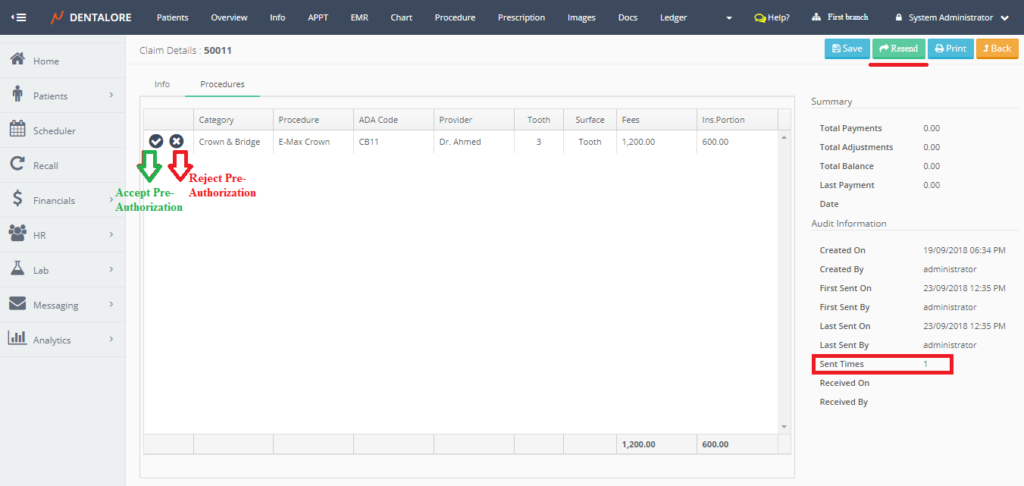
- When the User press accept the following happens:
1- Popup "Accept Procedure" opens.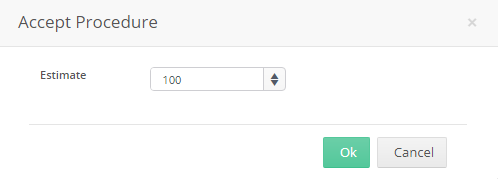
-- Where from the "Accept Procedure" popup, user could edit in the value of "Estimate" field which is the amount to be paid by insurance.
Note that If insurance will pay amount less than the amount requested from it then the remaining part from insurance will be added on the patient's balance.
2- The word "Accepted" is written beside the procedure name in "Procedures" tab in Claim Details page with the "Insurance portion" that insurance company accepts to pay for patient.
3- The color of pre-authorization symbol changes from "Blue" to "Green" in both the "Treatment Plans" tab in Chart View and in the Open Ledger View.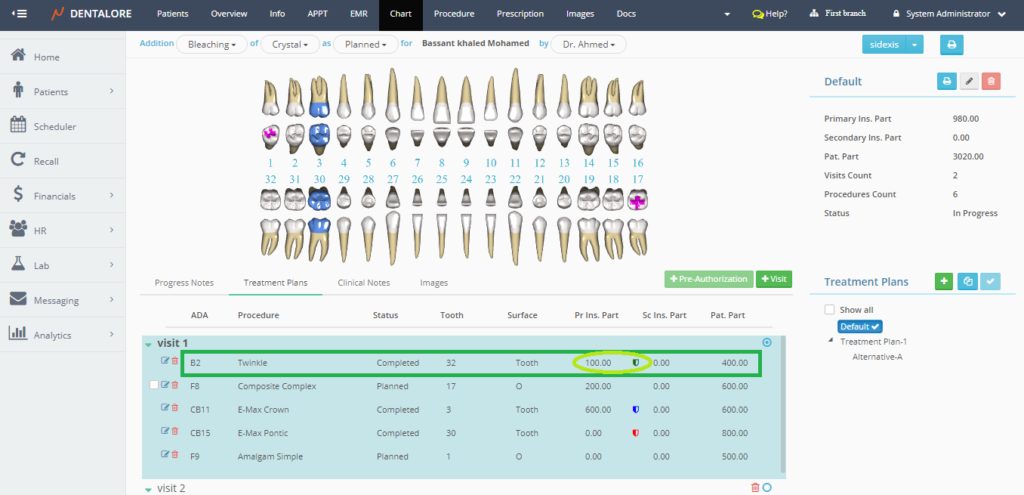

- Payment for the accepted pre-authorization could be performed form the claim transaction created for the same pre-authorization request.
- And similarly when the User rejects the pre-authorization transaction the word "Rejected" is written beside the procedure in "Procedures" tab in Claim Details page, The color of pre-authorization symbol changes from "Blue" to "Red" in both the "Treatment Plans" tab in Chart View and in the Open Ledger View.
- Note that the symbol color is "Blue" for the pre-authorization transactions that are not accepted nor rejected yet.
- Control buttons for "Pre-Authorization" Transaction are:
-- "Save" button: Once press, the updated fields saved and user still on the (Claim Details) page.
-- "Send" button: Once pressed, the name of button changed to be (Resend) and the count of "Sent Times" increase by 1 and as the (Resend) button is pressed then the count of "Sent Times" increases.
-- "Print" button: Once Pressed, new window opens that displays the Pre-authorization info.
-- "Back" button: Once Pressed, User directed to the previous page that was displayed.